Raspberry Cacao Surprise
I seem to really love the combo of raspberries and chocolate at the moment. The colour and the taste combo; perfection I think. I came up with these tasty little treats for my kid’s lunchboxes today (I did have 1 too). All natural goodness, gluten, dairy, and refined sugar free. They have a little surprise inside…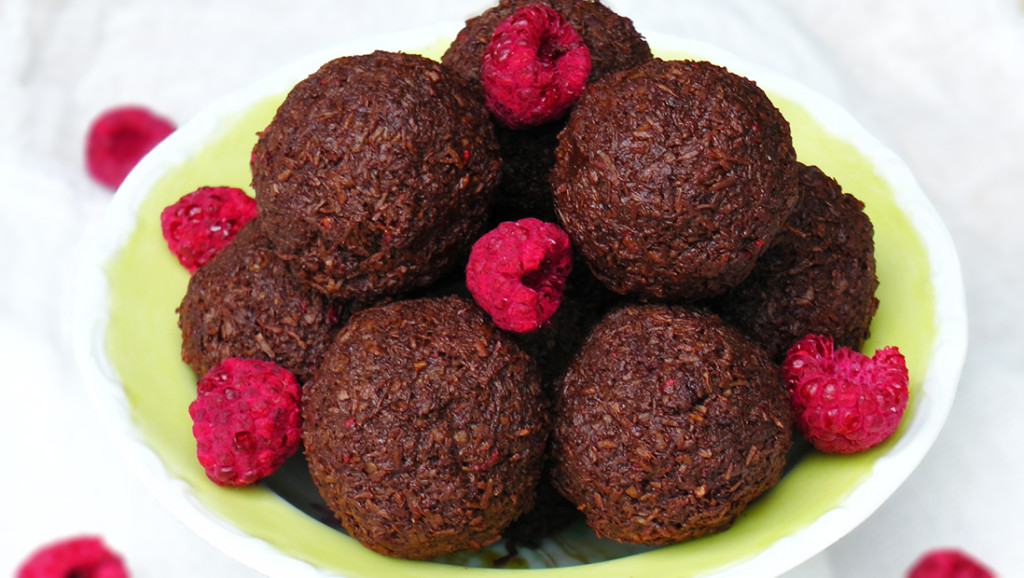
You Will Need:
2 cups of desiccated coconut 3 tablespoons cacao powder ½ a cup of freeze-dried raspberries 12 freeze-dried raspberries for the centre 1- 2 tablespoons maple syrup or honey to taste 2 tablespoons coconut oil (melted) 1 teaspoon vanilla extract ½ teaspoon saltWhat To Do:
- Blitz raspberries in your blender or food processor. Don’t make them dust, you want a bit of crunch, so process to tiny pieces.
- In a medium-size bowl mix together all ingredients including the blitzed raspberries but excluding the 12 raspberries for the centre.
- Add a little more coconut oil if needed to get a rollable consistency.
- Take a teaspoon of mixture in your hand, add one of the whole dried raspberries to the centre, then add another teaspoon on top and roll into a ball carefully so you don’t break the raspberry centre if possible.
- You could leave out the centre raspberry if you like, buts that’s the surprise and the kids like it.
- Place the balls in the fridge for ½ an hour, then eat yourself :) or pop one in your children’s lunch-box for a little treat.
- Makes 12 balls.
Roasted Red Pepper and Kale Bruschetta
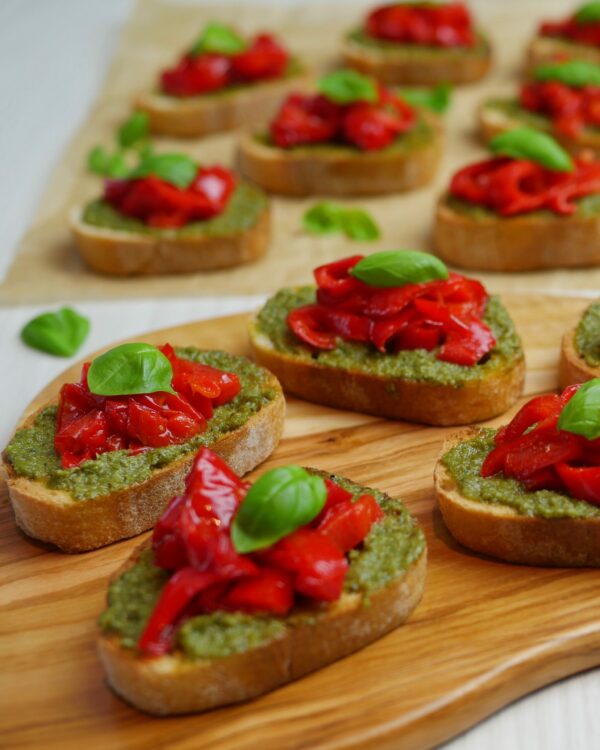
Preparation: 10 minutes Cooking: 10 minutes Servings: 4 I adore bruschetta, rubbed with garlic and toasted until golden and crunchy. This recipe is a gorgeous kale and basil pesto topped with sweet bell peppers, their juices seeping into the warm, soft sourdough bread. The bruschetta makes a lovely rustic starter or snack. Brain Food Note Kale and basil are high in vitamins A, C, and K, iron, and magnesium to enhance brain function and promote mood balance. Red bell peppers are rich in vitamin B6 and vitamin C to relieve stress and calm the brain. I’ve added garlic to help improve mood and reduce fatigue and anxiety. You Will Need 3 red bell peppers 2 tablespoons coconut oil 12 slices of sourdough, gluten-free bread, or sweet potato 1/2 cup kale and basil pesto (page … ) 2 garlic cloves, peeled 1 handful basil leaves What To Do Preheat oven to 200 degrees C (or 400 degrees F). Slice red bell peppers into thin strips and place in a small roasting pan. Drizzle over coconut oil. Cook the peppers in the oven for 5–7 minutes, or until tender, turning the peppers occasionally. Remove the pan from the oven and transfer peppers to a plate. Set aside. Place the slices of bread or sweet potato on a baking tray lined with paper, then brush lightly with coconut oil. Grill the slices of bread until golden (about 2 minutes), then turn and grill for an additional minute. If using sweet potato, you will need to grill slices longer: 10 minutes each side, or until crisp and golden. Remove the bread or sweet potato from the oven and rub each piece with garlic. Spread the grilled bread or potato with kale pesto and top with red peppers. Place a basil leaf on top and serve.Kale Chips
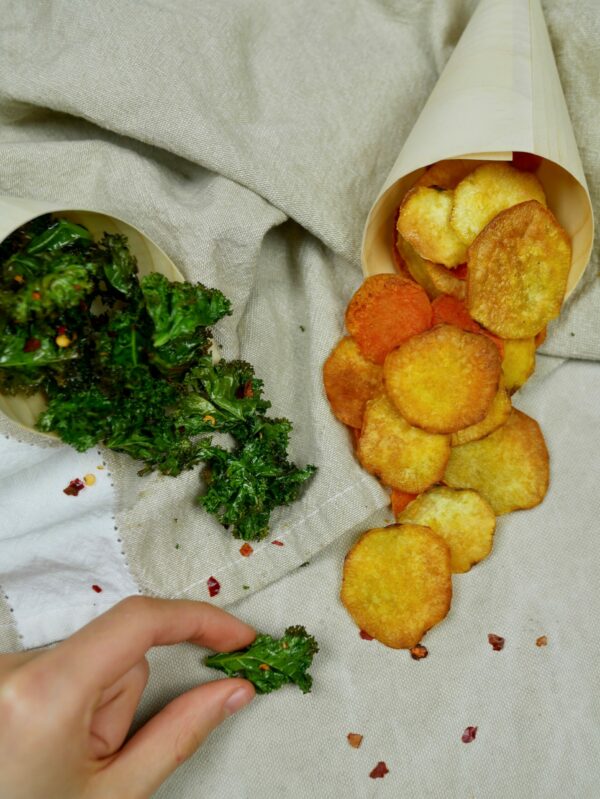
Preparation: 10 minutes Cooking: 10–15 minutes Servings: 4 Kale chips are a fun way to get your greens, but they can be a little plain, so here is my version, enhanced by a sprinkle of chilli flakes and paprika and baked until crisp. These little morsels are great for a movie snack or as the star of the show on a platter with other roasted vegetables, nut and seed bread, beetroot pesto (page…..), and fruits and crackers. Brain Food Note Kale is packed full of antioxidants and vitamins which help enhance mood and hinder anxiety. Cook in coconut oil to keep your mood balanced and your thinking sharp. What You Need 3 curly kale stems 2 tablespoons coconut oil 1/2 teaspoon Himalayan rock salt 1 teaspoon chilli flakes 1/2 teaspoon paprika What You Do Preheat oven to 150 degrees C. Wash the kale and pat dry thoroughly, or use a salad spinner. Slide the leaves off the stem and tear the kale into potato chip–sized pieces. Massage the leaves with coconut oil, getting into all the little kale curves. Place the kale sparingly in a single layer on two lined baking sheets. If you place too many on the tray, they are more likely to burn. Bake the chips for 10–15 minutes, or until crispy. Remove from the oven and serve. Store your chips in an airtight container for up to 1 week. Note I recommend using Himalayan rock salt if possible, as it’s rich in minerals, including calcium, magnesium, potassium, and iron. If you can’t obtain this salt, then sea salt is comparable. Regular table salt is heavily processed, eliminating its minerals.Peppermint Chocolate Amazeballs
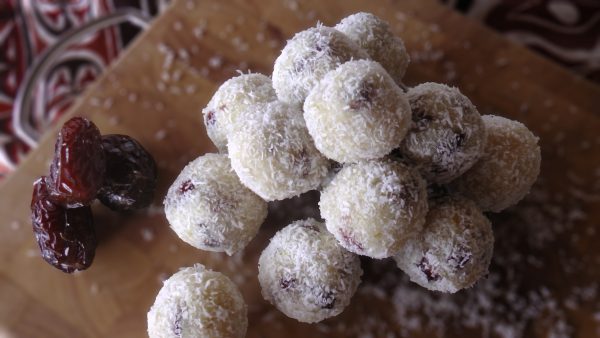
If you love peppermint, then you will love my raw peppermint and chocolate balls. These little peppermint balls are my family’s favourite amazeballs at the moment. They are super quick to make and great as a little snack when you need something sweet or for school lunchboxes. These snacks are made with all natural, nutrient rich ingredients. A classic pairing of peppermint and chocolate, the amazeballs have the added boost of maca powder with its abundance of vitamins and minerals, making these treats delicious and good for mind and body.What You Need:
1 cup coconut ¾ cup almonds 1/3 cup coconut oil 4 drops peppermint oil ¼ cup cacao powder ½ cup raisins 2 tbsp cacao nibs 2 tbsp maca powder 1 tsp honey Extra coconut to rollWhat To Do:
- Place all of the ingredients in a food processor or strong blender and process for 2 minutes or until the mixture starts to form together like dough.
- Use your hands to form small balls.
- On a large plate, add the extra coconut. Roll the balls in the coconut until well coated then transfer to a plate.
- Place in the fridge for about an hour to firm up. The balls can be kept at room temperature, but I like them straight from the fridge.
- This recipe makes around 16 balls.
Beetroot and Cashew Pesto
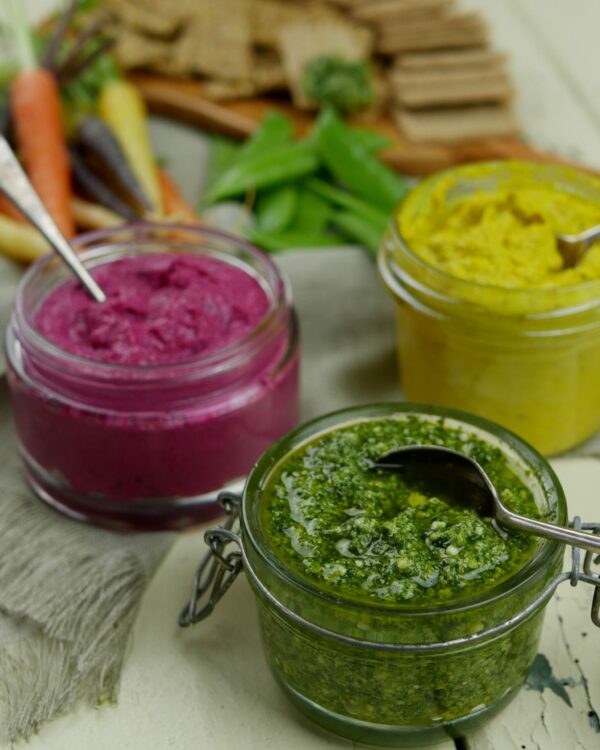
Preparation: 10 minutes Cooking: 25 minutes Servings: 2 cups The bright colour and creamy earthy taste of this beetroot and cashew pesto never fails to impress. It looks sensational on a platter with crisp vegetables and crackers, and it’s excellent tossed with zucchini or parsnip noodles. Brain Food Note Beetroot is packed full of vitamins and minerals, including potassium, iron, and magnesium, which all help to prevent fatigue, calm the mind, and give an energy boost to power the day. 3 large beetroot 1/2 cup cashews 1/2 cup sunflower seeds 1/4 cup olive oil zest and juice of 1 lemon 1 clove garlic 2 tablespoons tahini 1/2 teaspoon ground cumin sea salt freshly ground black pepper 1 tablespoon sesame seeds Peel the beetroot and chop into small pieces. Put the beetroot into a medium saucepan and cover with water. Bring to a boil. Reduce heat and cook for 20–25 minutes, or until tender. Once the beetroot is cooked, remove from the heat and drain the water. Put the beets into a blender or food processor with the other ingredients, except the sesame seeds. Blitz on high until well blended. You can make the pesto super smooth or stop blending when it is still a little chunky, if you prefer. If the pesto is too thick, add a little water or olive oil until you reach the desired consistency. Place the pesto in a serving bowl or jar, drizzle with a little olive oil, and top with sesame seeds. Serve with fresh vegetables, crackers, or bread.Creamy Homemade Almond Butter
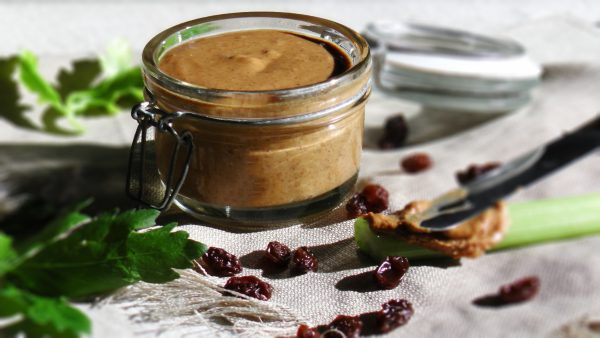
I’ve made almond butter before, however I’ve been a bit busy lately (ok lazy), but as I’ve been using a lot of almond butter in recipes, and its soooooo expensive, I thought it was time to make my own again. It’s so satisfying making your own almond butter and a fraction of the cost, when compared to the organic jars at your grocery store. One small jar is about NZ$20! I don’t have a food processor at the moment, so I used my trusty Vitamix, and it works! Almond butter goes great with apple or celery as a snack. I used to have "ants on a log" as a kid and my kids still like them. Celery, with a smear of almond butter and topped with raisins. YUMMO!If using a Vitamix:
You Will Need:
3 cups almonds ¼ cup coconut oilWhat To Do:
- Place the almonds and the coconut oil into your Vitamix.
- Select Variable 1.
- Turn your machine on and slowly increase the speed to Variable 10, then to High.
- Use the tamper to press the ingredients into the blades.
- You may need to scrape the sides.
- In 1 minute you will hear a high-pitched chugging sound.
- Once the butter begins to flow freely through the blades, the motor sound will change and become low and laboring.
- Stop the machine.
- The almond butter is ready when the oils have been released, and your almond butter is smooth and creamy.
- Transfer the nut butter to a sealed glass jar, and store it in the fridge. You can also freeze it.
If using a food processor:
You Will Need:
3 cups of almondsWhat To Do:
- Put the almonds into a food processor and process. The butter will go through stages. Scrape the sides regularly to keep everything going and evenly processed.
- Stage 1 flour-like.
- Stage 2 ball-like.
- Stage 3 almond butter.
- Process until smooth and creamy. Be patient, it can take up to 20 minutes.
- The almond butter is ready when the oils have been released and your almond butter is smooth and creamy.
- Transfer the nut butter to a sealed glass jar, and store in the fridge. Almond butter also freezes well.

