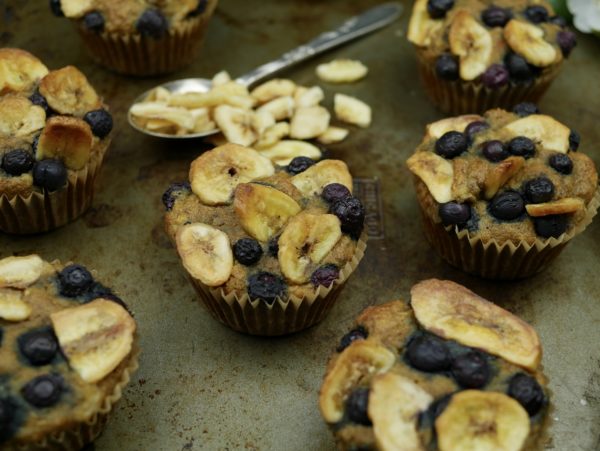
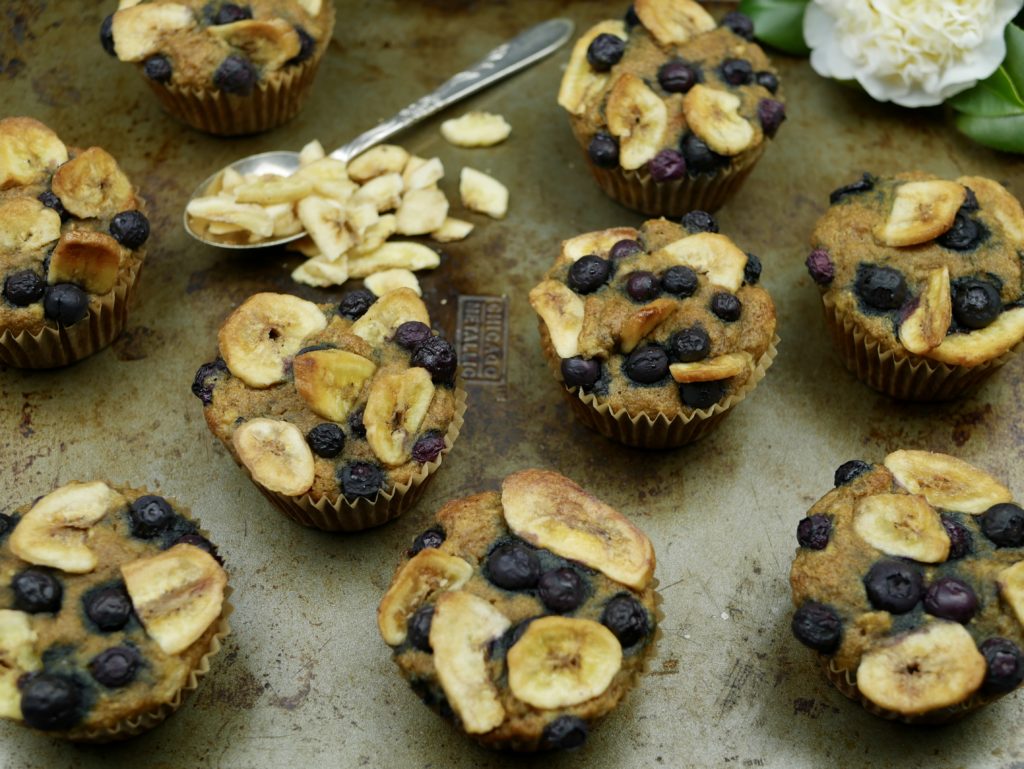
Blueberry and Banana Chip Muffins

Preparation: 20 minutes Cooking: 40 minutes Servings: 12 medium or 24 mini muffins   Blueberries are definitely one of my favourite fruits; I can’t resist eating them almost every day when they’re in season. These lovely and moist blueberry muffins are perfect for afternoon tea or kids’ school lunchboxes. They are delicious warm from the oven, the blueberry sweetness bursting into the soft almond crumb. Top with banana chips for a playful crunch.   Brain Food Note The delightfully small and sweet blueberries pack a powerful antioxidant punch and act as little brain protectors. They are even more powerful when combined with foods that are rich in healthy fats.   3 bananas 1/2 cup coconut sugar 3 organic eggs juice of 1 lemon 100 grams melted butter or 1/4 cup coconut oil 2 cups almond flour 3/4 cup tapioca flour 1 teaspoon gluten-free baking powder 1 teaspoon baking soda 1/2 teaspoon sea salt 1 cup fresh or frozen blueberries 1/2 cup of banana chips   Preheat the oven to 180 degrees C(or360 degrees F) and line a 12-hole muffin tin or 24-hole mini tin with paper cases; alternatively, grease the tins with a little coconut oil. Place the bananas in a large bowl and mash with a fork. Add the coconut sugar, eggs, lemon juice, and coconut oil or butter. Using a large wooden spoon, mix until combined. In a separate bowl, mix the flours, baking powder, bicarbonate of soda, and sea salt. Add the mashed banana to the egg mixture and mix well, then add the flour mixture and stir with a wooden spoon until just combined. Don’t overmix or the muffins will lose their lightness. Spoon the batter into the muffin cases or tin and then top with blueberries and banana chips. Bake muffins for about 40 minutes, and mini muffins for 20 minutes, or until a skewer inserted into the centre of a muffin comes out clean.  

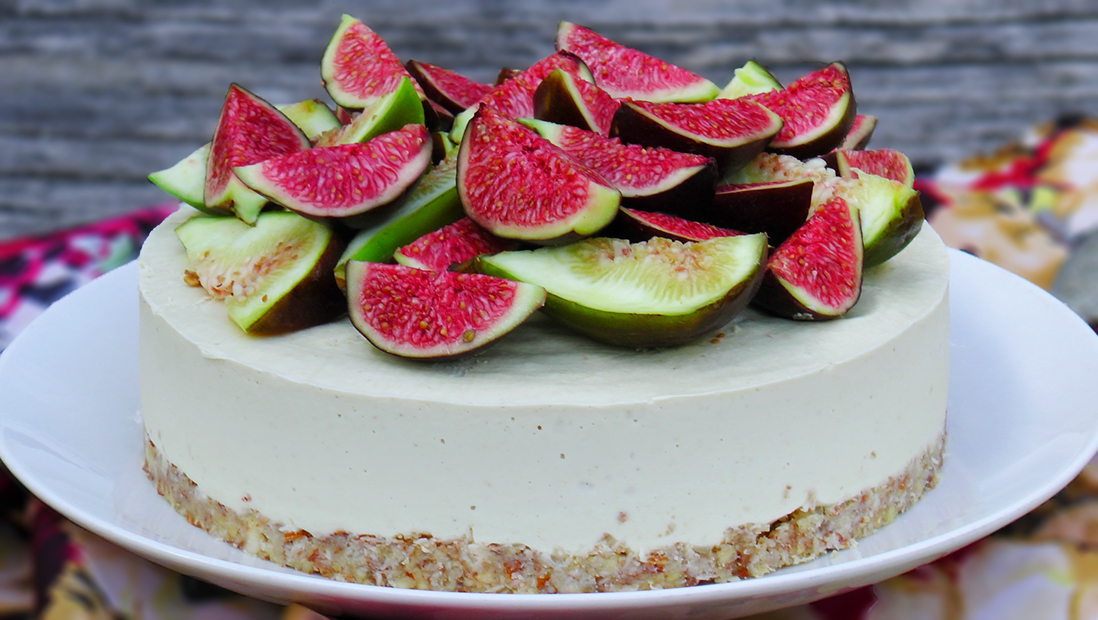
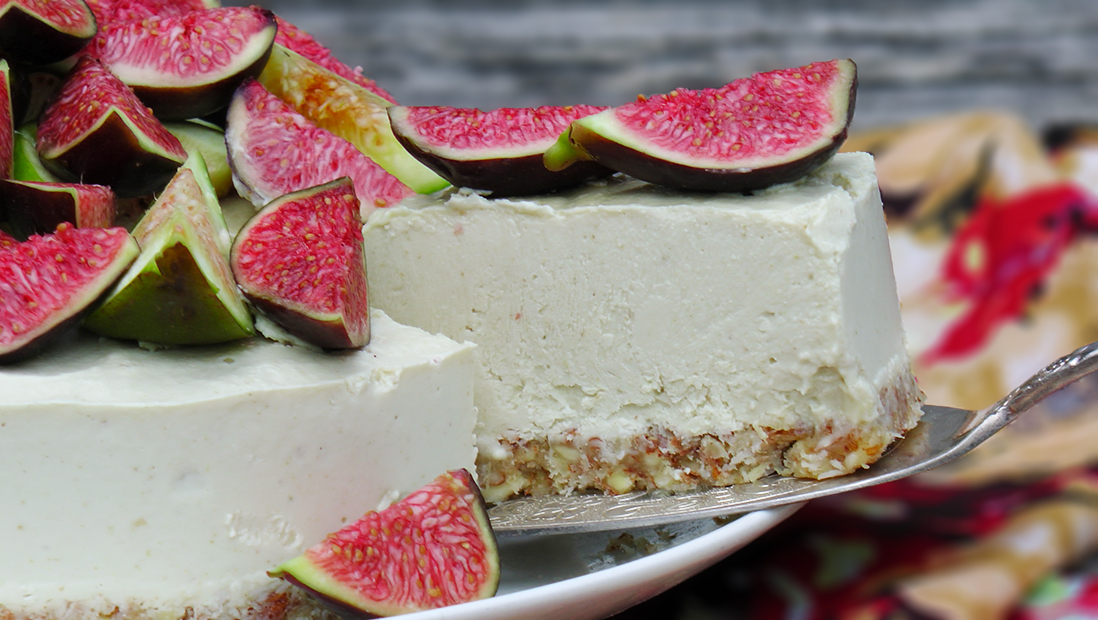
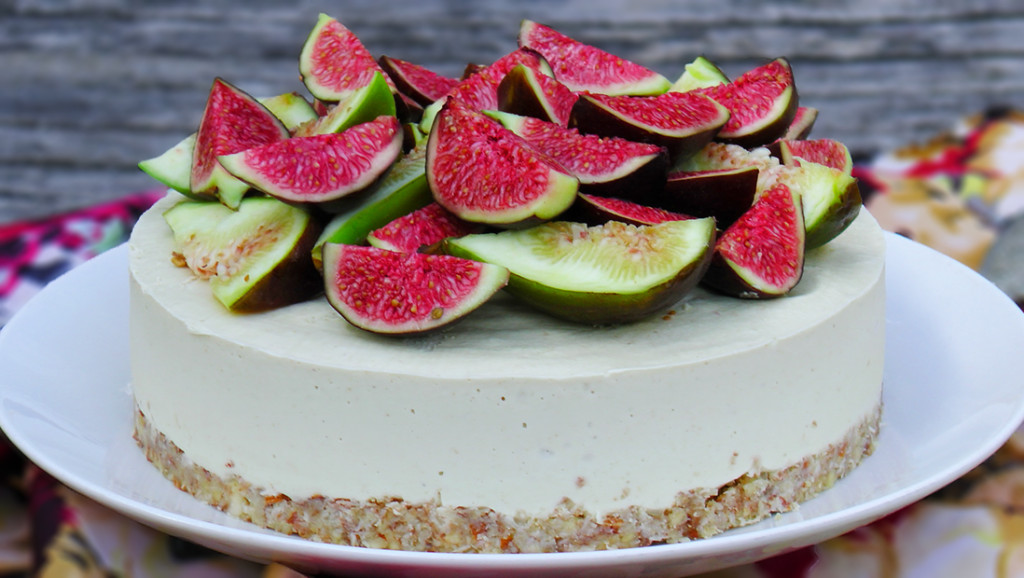
Heavenly Ginger and Fig Cheesecake

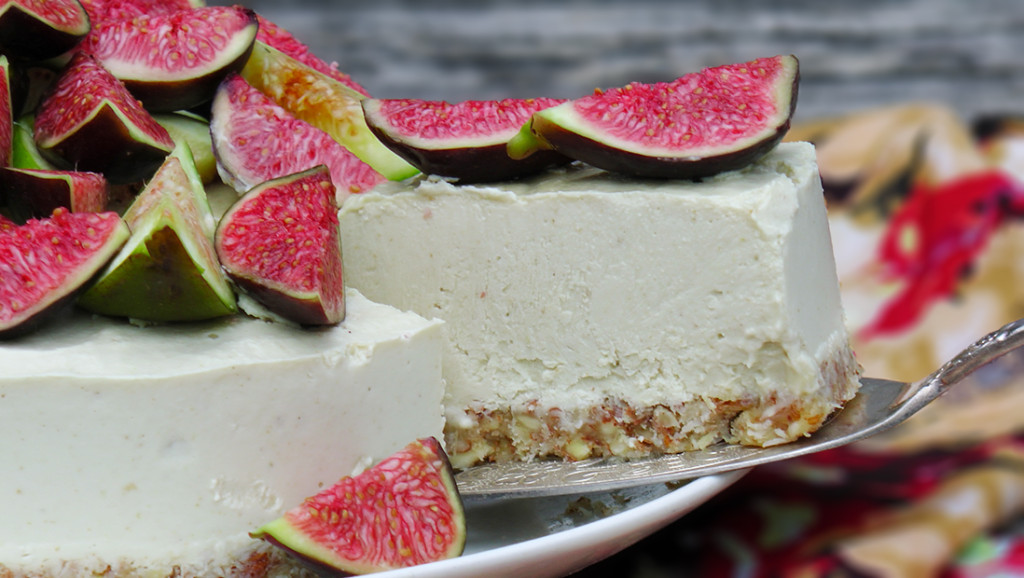
I brought these wonderful, very ripe, and juicy figs at my farmers market last weekend. I love figs; we had a large tree on our property when I was growing up and I used to sit under it in the summer and eat plenty of them. The sweet, succulent fig is rich in phyto-nutrients, anti-oxidants, and vitamins. What to do with them? Ok, I need to make a birthday cake for a friend. Why don’t I marry this delicious, sweet fruit with another fave of mine – ginger! Ginger and fig birthday cake, yippee! I gave it a whirl and the result was sublime…   gingerfig6
You Will Need:

Base:
1 cup of almonds ½ a cup of coconut 2 thumb size pieces of ginger (finely chopped) 2 teaspoons of ground ginger A pinch of salt 2 tablespoons of coconut oil
Filling:
2 cups of cashew nuts 1 cup of almond milk Juice of 1 lemon 2 tablespoons of maple syrup or honey 3 tablespoons of cacao butter 4 large ripe figs 1 teaspoon of vanilla extract 1-2 thumb size pieces of ginger (finely chopped) 3 teaspoons of ground ginger ¼ of a cup of filtered water A pinch of salt gingerfig2
What To Do:

The night before:
Soak your cashews in water.
For the base:
  1. Process the almonds into small pieces with the salt in a food processor or high-speed blender. Add the coconut, ginger, ground ginger, and coconut oil, and give a few pulses until combined. As I don’t have a food processor, I find it easier to blend the almonds into small pieces (but not dust), then mix the nuts with the other ingredients in a bowl.
  2. Press the base into the bottom of a spring-form 7 inch pan and place into your refrigerator until needed.
For the filling:
  1. Blend the cashews, almond milk, lemon juice, maple syrup, cacao butter, figs, vanilla, finely chopped ginger, and ground ginger in your blender or food processor until it blends to a smooth velvety mix. Add the filtered water to get a pourable but thick consistency. Blend again until silky smooth.
  2. Take your base out of the fridge and pour the filling in to the nut base in the pan.
  3. Place in the freezer for about 2-3 hours until firm.
  4. Take the cheesecake out of the freezer 1 hour prior to serving and place in the refrigerator until ready to serve.
  5. Garnish with a sprinkle of ground ginger and fresh figs.
  6. Serve and enjoy!

Lemon and Date Amazeballs

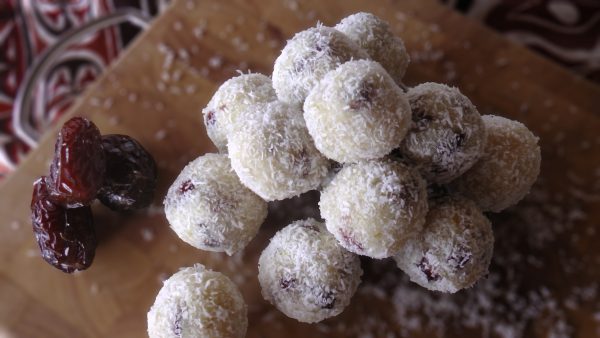
My youngest daughter loves lemony sweet treats.  Her favourites are lemon curd muffins, lemon slices and lemon meringue pies.  As I'm sans an oven at the moment I can't "make over" her favourite baked treats into healthier versions, so I came up with these raw lemon and date balls. These little lemon and date balls didn't last long in our house! Tart and sweet at the same time, they are a great refined sugar, dairy and gluten free snack. Simple and easy to make and ooh so delicious.  They are great as an after school snack and lunchbox filler.  So simple to make, so get the kids helping in the kitchen. :)
You Will Need:
Desiccated coconut 1 ½ cups Cashews 1 cup Medjool dates 8 (chopped) Maple Syrup 2 Tablespoons Coconut Oil 4 Tablespoons Lemon Juice and Zest – 1 lemon Desiccated coconut ½ cup for coating  
To Do:
1. Pop all of your ingredients in a large bowl and mix together. I find using your hands to mix works the best. 2.  Blend until you can form dough with your hands. 3.  Roll dough into balls. 4. Put the topping coconut on a plate and gently roll the balls in the coconut. You can eat some now ☺ or place the balls in the fridge for about an hour to set. 5. Keep in the fridge and pull out for a little snack or they are great to pop into kids lunches. Recipe makes around 15 balls, or if you roll them smaller than I did, about 24. Yum.  

Creamy Cacao Coconut Yoghurt

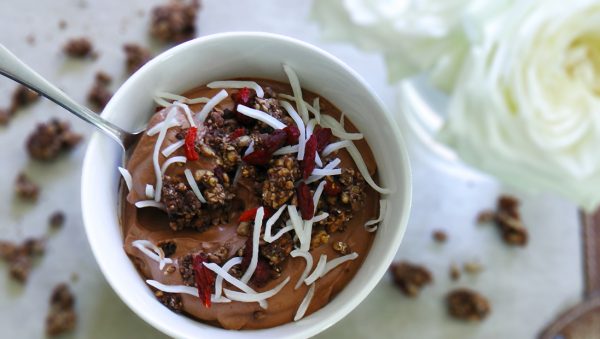
There is one thing I really miss since going dairy free and that’s YOGHURT! I love it and I used to eat it a lot, especially during blueberry season. Greek yoghurt and blueberries – yummm! That tangy taste, creamy texture, melt in your mouth… I could go on and on… Anyway, I gave up dairy and found coconut yoghurt! I could eat coconut yoghurt everyday too, but the problem is it’s really expensive. So, what can I do to feed my coconut yoghurt addiction? I make my own. I’ve been experimenting with making my own coconut yoghurt and came up with this simple delicious recipe. I make it using only 3 ingredients: coconut milk or cream, a sweetener, and probiotic capsules (plus cacao if you want the chocolatey kind, and I do). Simply combine the ingredients and leave to sit in a warm place for a day or two. Then voila! Creamy, chocolatey yoghurt for breakfast. You need a good quality coconut milk or cream to begin with, and also good quality probiotic capsules. All coconut cream / milk brands differ slightly, as do the probiotic capsules. You many need to adjust amounts slightly to produce a yoghurt of the consistency you like. cy2real  
You Will Need:
1 can of coconut cream or milk (use the full fat variety) 3 good quality probiotic powder capsules 2 tablespoons of maple syrup or honey 6 tablespoons of cacao powder
What To Do:
  1. Sterilise a glass jar, either by boiling in water or heating in a low oven for 10 minutes or putting it through your dishwasher.
  2. Warm the coconut cream or milk in a pan over a very low heat, until warm to touch.
  3. Pour the warmed coconut cream or milk into the sterilised jar, and add the powder from the probiotic pills.
  4. Add honey or maple syrup.
  5. Stir until well combined.
  6. Place the jar in a sunny place like a benchtop, for 12 hours. Alternatively you could also place it in a yoghurt maker or in a hot water cupboard wrapped in a tea towel.
  7. After 24 hours, add the raw cacao powder to the fermenting yoghurt and blend it all up in a high-speed blender.
  8. Pop yoghurt back in your jar, screw the lid on and place in the fridge for 1-2 days. You will find that the yoghurt will thicken considerably once stored in the fridge. It will also become thicker and slightly tarter each day.
  9. The yoghurt keeps up to 2 weeks in the fridge, but it won’t last that long!
  10. After 1 or 2 days, depending on how you like it, serve and enjoy! Serve a couple of spoonfuls on top of fruit, or in smoothies or with homemade granola. I have topped my cacao coconut yoghurt with goji berries and Little Bird Cacao Grawnola. Recipe makes a small jar or bowl full of yoghurt.
The greek yoghurt kind of thickness in the picture was achieved by using 3 good quality probiotic capsules and waiting for 4 days.

Apricot and Ginger Amazeballs

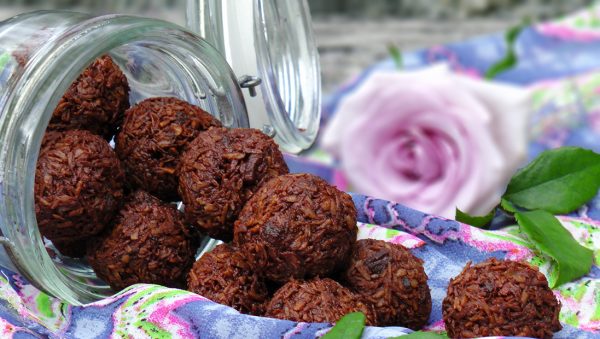
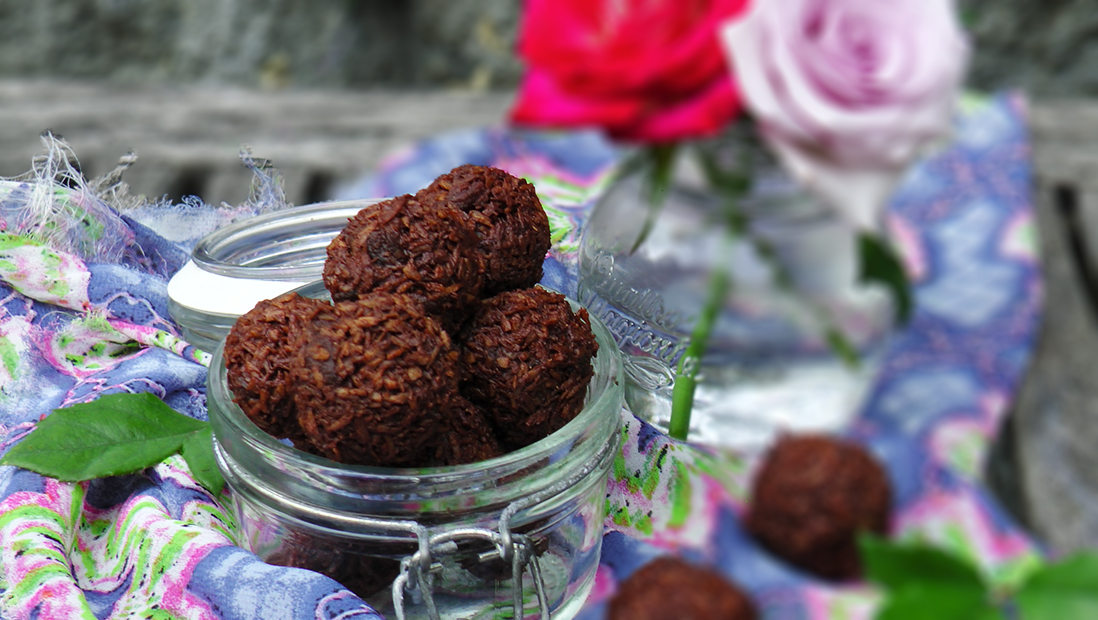
I love ginger! I could put it in everything. I have fresh ginger in hot water instead of coffee, whenever I feel like a hot drink. It always “picks’ me up and is very warming and comforting in winter. I also rarely get sick and haven’t had a cold in years. Ginger strengthens your immune system and is great at easing a queasy tummy from motion, travel or morning sickness. I have added the zing of ginger to these yummy Amazeballs and little pieces of organic dried apricots. Dried apricots are rich in Vitamin A, potassium, iron and fiber. Add to that an anti-oxidant boost of cacao and coconut oil and these little babies pack a powerful hit of nutrients! You will love the little ginger kick you get in your mouth after you have had one!   ginger2  
You Will Need:
2 cups of desiccated coconut ½ a cup of cacao powder ½ a cup of dried apricot pieces 2 tablespoons of ground ginger 2 tablespoons of coconut oil (melted) 2 tablespoons of maple syrup 1 teaspoon of vanilla 1 teaspoon of cinnamon A pinch of salt
What To Do:
  1. Put all of your ingredients into a food processor, or mix together in a large bowl.
  2. Roll the mixture into small balls and pop in the refrigerator to chill and set. You can eat them without putting them in the fridge first, but I think they are nicer when they’re chilled.
  3. Makes 24 small balls.