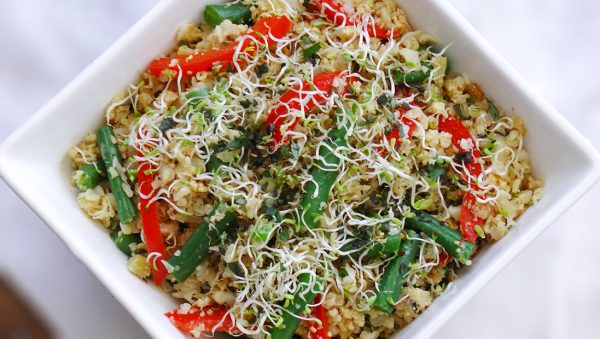
Cauliflower Fried “Rice”

Fried rice is one of those dishes that you can easily adjust to suit your taste. You can add in an array of vegetables, herbs, and spices. You can have it vegetarian, or add chicken, prawns, pork, or other proteins if you feel like it. I think it’s delicious as a dinner and leftovers are great for kids lunches. I actually like cauliflower fried rice better than the actual rice version!   What You Need ½ large cauliflower head or 1 whole small head 1 onion, finely chopped 2 garlic cloves, finely chopped A thumb size piece of ginger, finely chopped 200g green beans, sliced ½ large red capsicum/pepper, sliced 1 large handful of bean sprouts 2 spring onions, finely sliced 2 tablespoons of herbs of your choice (I used parsley and thyme) 4 eggs, beaten 2 tablespoons coconut oil 1-2 tablespoons coconut aminos Sea salt and freshly ground black pepper   What To Do
  1. Pop the cauliflower florets in a food processor and pulse until your cauliflower resembles rice. I used my Vitamix and did the cauliflower in four portions so it wouldn't jam the blades.
  2. Heat the coconut oil In a large frying pan, on a high heat.
  3. Add onion and garlic and cook for 1-2 minutes until softened.
  4. Add in the cauliflower, ginger, beans, and red pepper and cook for about 2-3 minutes, until tender.
  5. Add the eggs, spring onions, sprouts, coconut aminos, herbs, salt, and pepper, and cook until everything is heated through and well combined. You could add some cooked pork, chicken or other protein at this point too.
  6. Serve into bowls and garnish with a few extra bean sprouts and a grind of salt and freshly ground black pepper.
       

Beetroot and Cashew Pesto

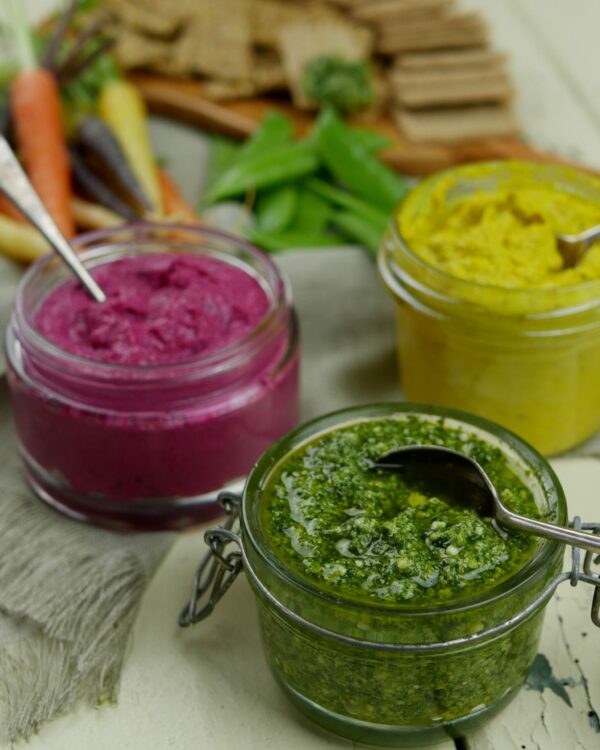
Preparation: 10 minutes Cooking: 25 minutes Servings: 2 cups   The bright colour and creamy earthy taste of this beetroot and cashew pesto never fails to impress. It looks sensational on a platter with crisp vegetables and crackers, and it’s excellent tossed with zucchini or parsnip noodles.   Brain Food Note Beetroot is packed full of vitamins and minerals, including potassium, iron, and magnesium, which all help to prevent fatigue, calm the mind, and give an energy boost to power the day.   3 large beetroot 1/2 cup cashews 1/2 cup sunflower seeds 1/4 cup olive oil zest  and juice of 1 lemon 1 clove garlic 2 tablespoons tahini 1/2 teaspoon ground cumin sea salt freshly ground black pepper 1 tablespoon sesame seeds   Peel the beetroot and chop into small pieces. Put the beetroot into a medium saucepan and cover with water. Bring to a boil. Reduce heat and cook for 20–25 minutes, or until tender. Once the beetroot is cooked, remove from the heat and drain the water. Put the beets into a blender or food processor with the other ingredients, except the sesame seeds. Blitz on high until well blended. You can make the pesto super smooth or stop blending when it is still a little chunky, if you prefer. If the pesto is too thick, add a little water or olive oil until you reach the desired consistency. Place the pesto in a serving bowl or jar, drizzle with a little olive oil, and top with sesame seeds. Serve with fresh vegetables, crackers, or bread.  

Cacao and Almond Superfood Smoothie

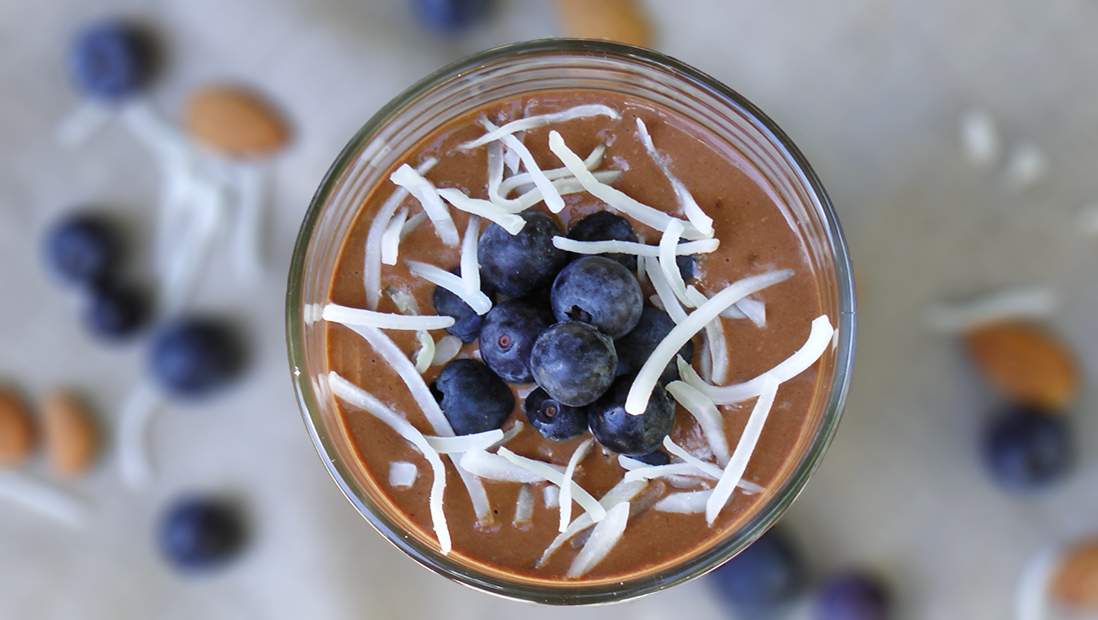
I love green smoothies but sometimes a girl needs a little chocolate. Don’t you agree? This delicious cacao and almond smoothie is lovely and chocolaty, and packed full of goodness. It’s perfect to have when you need a healthy little chocolate treat. This smoothie satisfies, from the mood boosting antioxidant rich cacao to the powerful almond with its abundance of healthy fats and minerals. Add a little maca and cinnamon for improved mood and stabilising blood sugar. All that and it tastes really good too! csmoothie1  
You Will Need:
2 tablespoons of cacao 2 tablespoons of cacao coconut yoghurt (optional) 1 banana (peeled, cut into pieces and frozen) 1 medjool date A small handful of almonds 1 cup of almond milk ½ a teaspoon of maca ½ a teaspoon of vanilla extract ½ a teaspoon of cinnamon  
What To Do:
  1. Pop everything in your blender and blitz until well blended.
  2. Top with whatever you fancy. I used blueberries and shredded coconut.
  3. Makes 1 large or two small glasses.
   

Raspberry and Spinach Smoothie

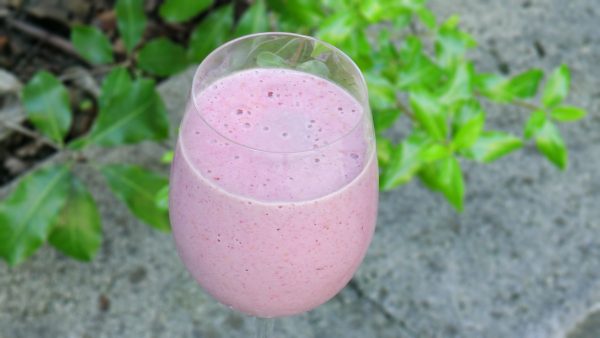
I love raspberries and I love spinach, so putting them together in a smoothie sounds good to me. The vibrant red raspberry is a delicate fruit that is sweet, juicy and offers a powerhouse of numerous health benefits. This vividly coloured fruit is a rich source of nutrients, minerals and vitamins, including fibre, iron, magnesium, potassium, and zinc. Add to that the amazing health benefits of spinach. Dark leafy greens like spinach have an extremely high level nutritional value and are important for bone health, skin, hair and provide iron, anti-oxidants, vitamins and minerals.     You Will Need Bananas (peeled, in pieces and frozen)  x 2 Raspberries 1/2 Cup Chia seeds 2 Tablespoons LSA 2 Tablespoons Almonds x 8 Spinach leaves 1 cup Coconut Water 3/4  Cup (or more to your desired consistency) Ice   To Do Blitz all the ingredients in a blender and enjoy :)  

Brussels Sprout, Leek, and Bacon Salad

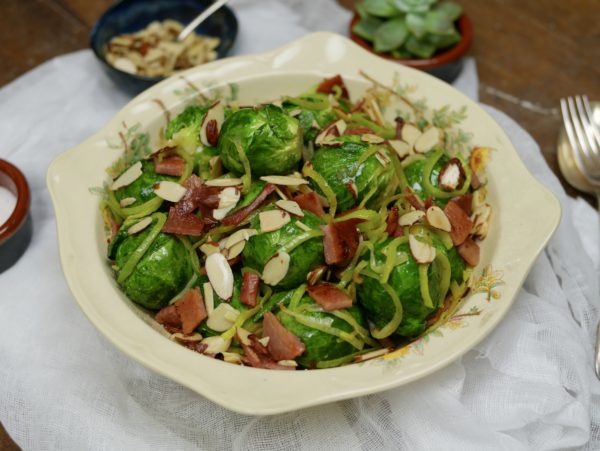
  Preparation: 10 minutes Cooking: 15 minutes Servings: 4 as a side   This lovely, simple salad packs a powerful nutrient-rich punch. Brussels sprouts bring a fresh clarity to the dish; their bright green colour and sweet, nutty flavour pair well with the subtle tones of the soft pale leek. Add the crisp saltiness of bacon and the necessary crunch of sliced almonds and you have a lovely salad, substantial enough for a light meal or perfect as a side with your favourite protein dish.   Brain Food Note Brussels sprouts contain many nutrients, including vitamin C and B vitamins, to improve the mood (including reducing mood swings). I’ve added protein- and iron-rich bacon to further promote a balanced state, and almonds for zinc to help create a calm mind.   12 Brussels sprouts 1/2 leek 4 rashers of bacon 1/4 cup sliced almonds, toasted juice of 1/2 lemon (optional) freshly ground black pepper sea salt   Preheat the oven to 180 degreesC. Wash the Brussels sprouts, slice off the ends, and remove the outer leaves. Wash the leek and slice it into thin strips. Place the rashers of bacon in a roasting pan and cook for 7–8 minutes, or until crispy and brown. Remove the bacon from the pan and add the Brussels sprouts to the bacon fat. Roast for 5 minutes. Remove from heat, add sliced leeks, and cook for an additional 2 minutes. Remove the pan from the oven and add the bacon (cut into small squares) back to the pan. Squeeze over lemon juice, if desired. Season with freshly ground black pepper and sea salt. Transfer to a serving dish and sprinkle the toasted sliced almonds over the top.  

Creamy Homemade Almond Butter

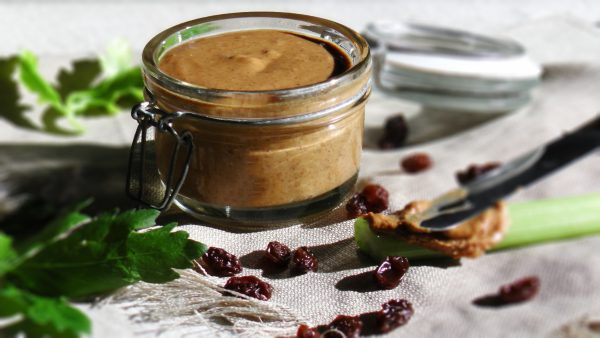
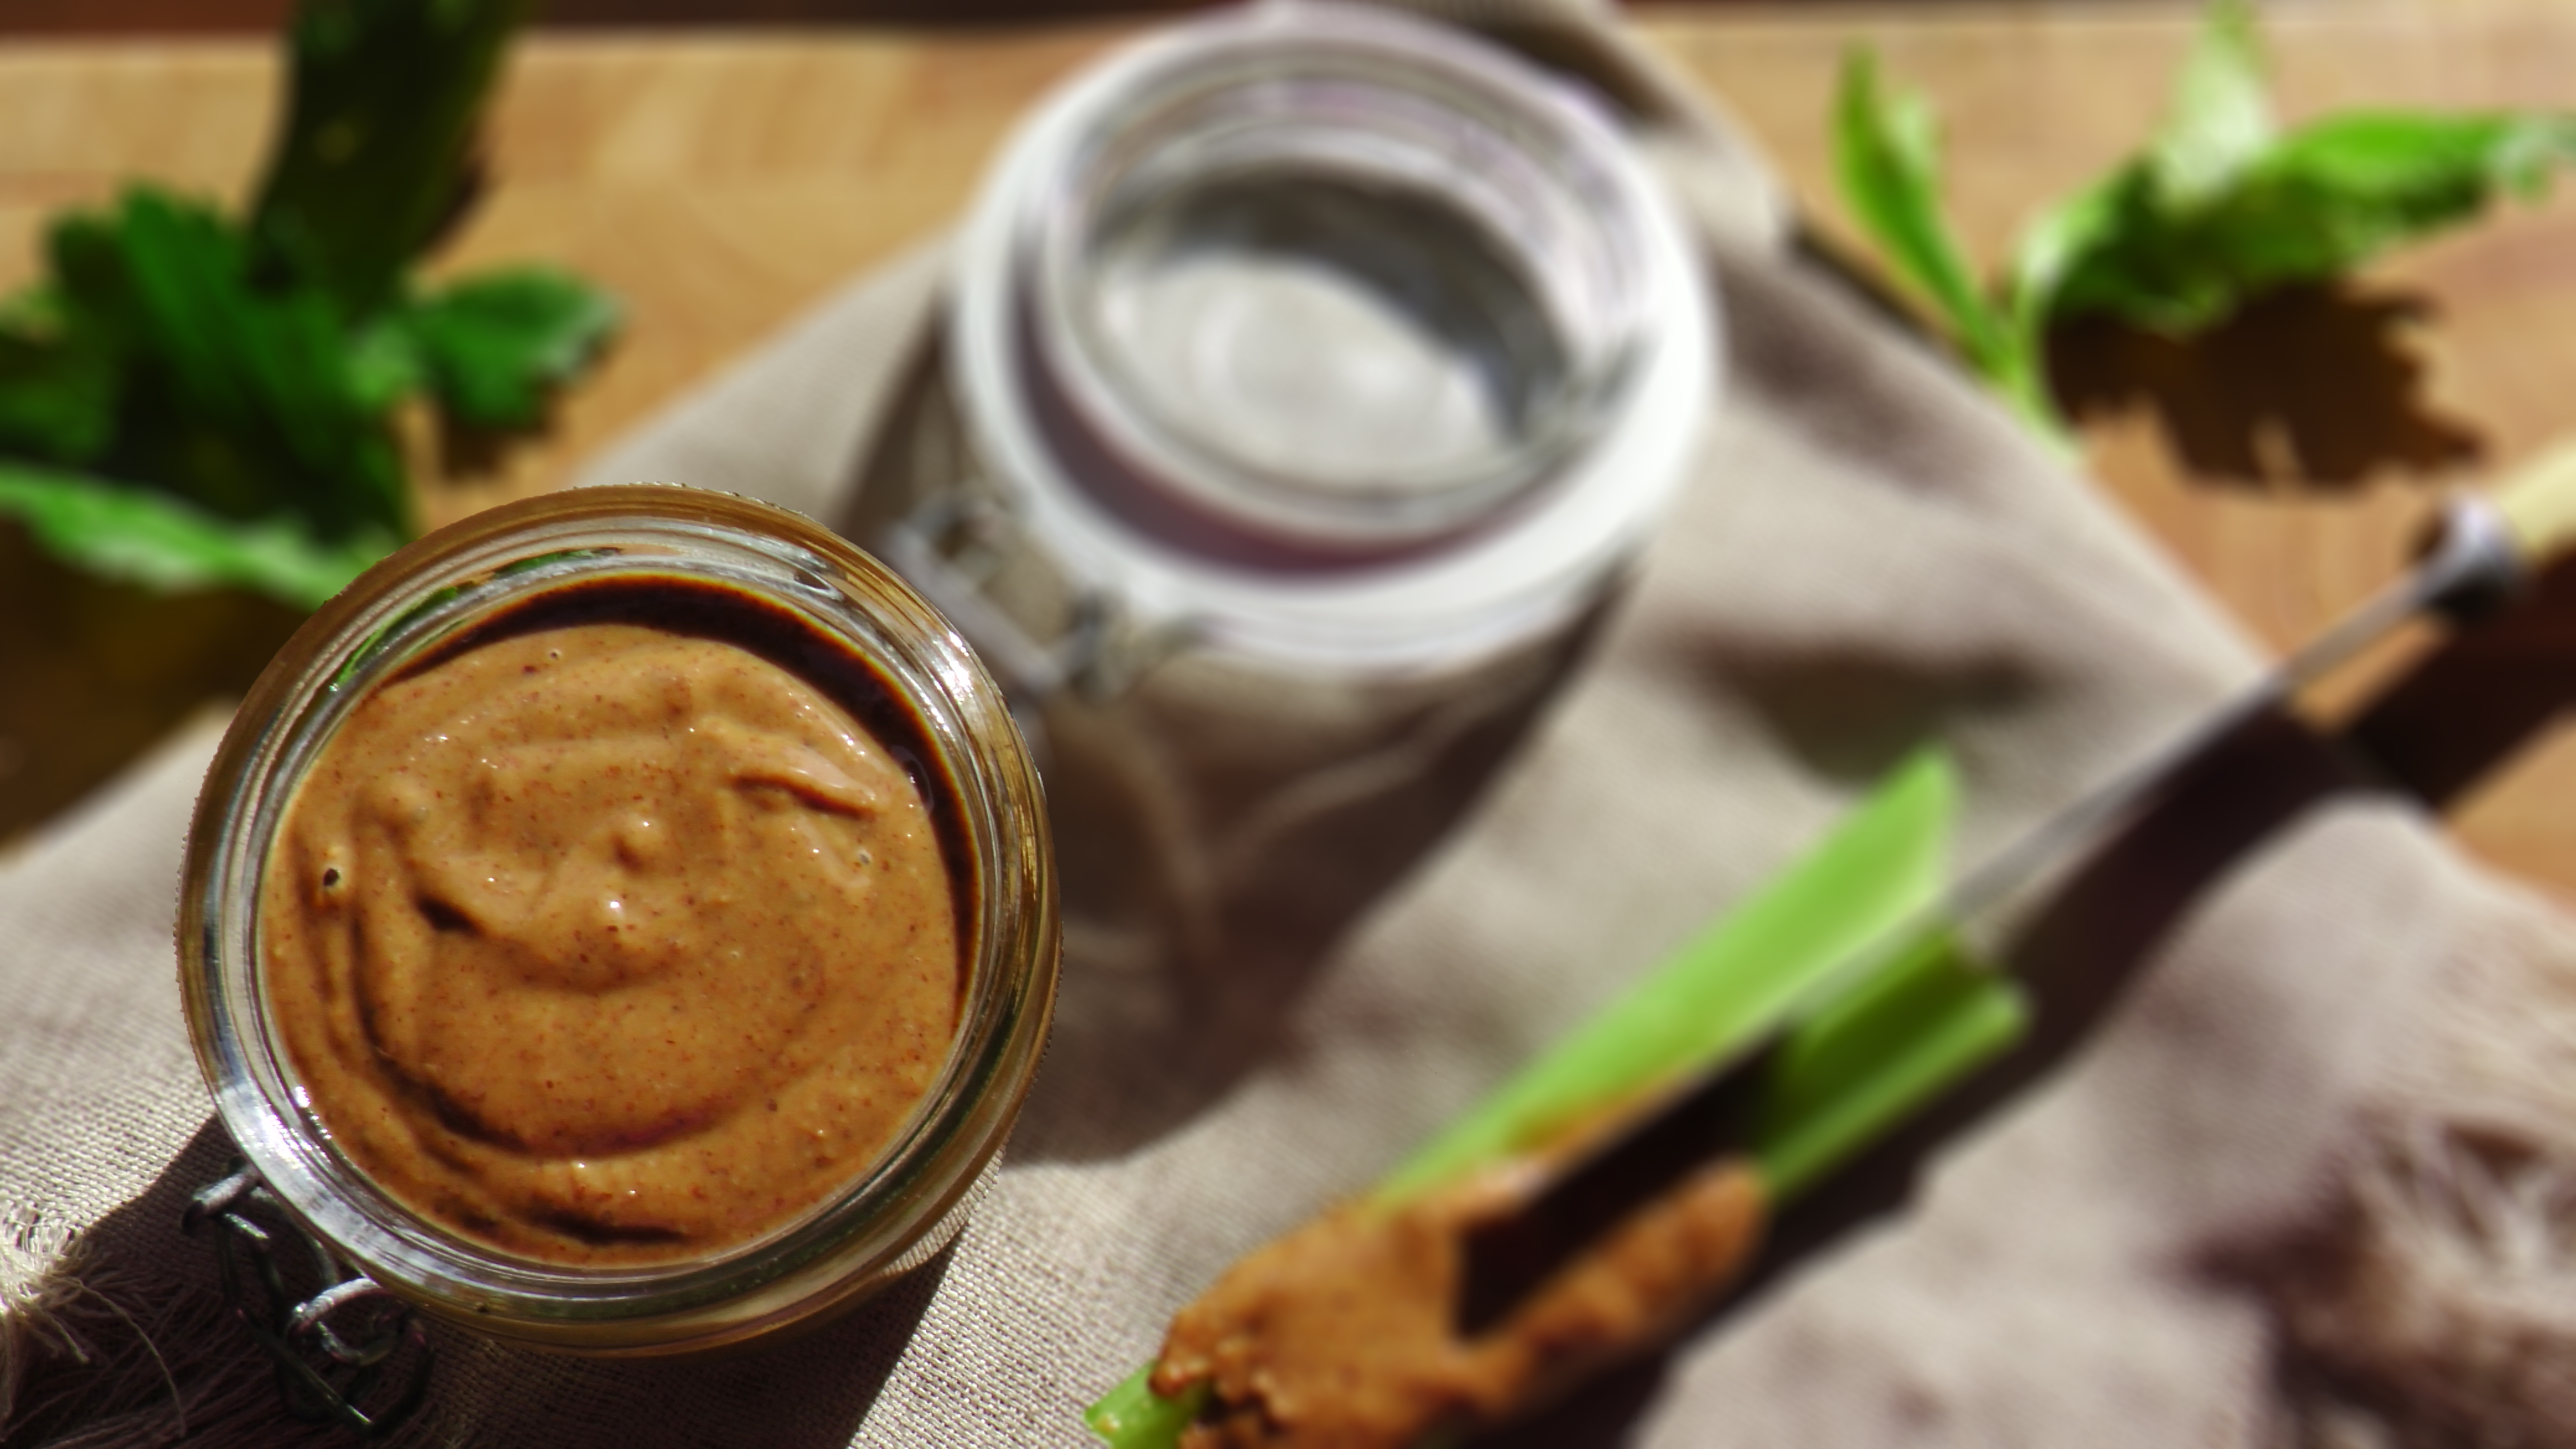
I’ve made almond butter before, however I’ve been a bit busy lately (ok lazy), but as I’ve been using a lot of almond butter in recipes, and its soooooo expensive, I thought it was time to make my own again. It’s so satisfying making your own almond butter and a fraction of the cost, when compared to the organic jars at your grocery store. One small jar is about NZ$20! I don’t have a food processor at the moment, so I used my trusty Vitamix, and it works! Almond butter goes great with apple or celery as a snack. I used to have "ants on a log" as a kid and my kids still like them. Celery, with a smear of almond butter and topped with raisins. YUMMO!  

If using a Vitamix:

You Will Need:
3 cups almonds ¼ cup coconut oil
What To Do:
  1. Place the almonds and the coconut oil into your Vitamix.
  2. Select Variable 1.
  3. Turn your machine on and slowly increase the speed to Variable 10, then to High.
  4. Use the tamper to press the ingredients into the blades.
  5. You may need to scrape the sides.
  6. In 1 minute you will hear a high-pitched chugging sound.
  7. Once the butter begins to flow freely through the blades, the motor sound will change and become low and laboring.
  8. Stop the machine.
  9. The almond butter is ready when the oils have been released, and your almond butter is smooth and creamy.
  10. Transfer the nut butter to a sealed glass jar, and store it in the fridge. You can also freeze it.
  Butter-1

If using a food processor:

You Will Need:
3 cups of almonds  
What To Do:
  1. Put the almonds into a food processor and process. The butter will go through stages. Scrape the sides regularly to keep everything going and evenly processed.
  2. Stage 1 flour-like.
  3. Stage 2 ball-like.
  4. Stage 3 almond butter.
  5. Process until smooth and creamy. Be patient, it can take up to 20 minutes.
  6. The almond butter is ready when the oils have been released and your almond butter is smooth and creamy.
  7. Transfer the nut butter to a sealed glass jar, and store in the fridge. Almond butter also freezes well.
Voila! A creamy almond butter that's less expensive and more delicious than the store-bought versions! Note: You can use raw or roasted almonds. Roasted almonds give a darker nut butter result and a nuttier taste.      

Shakshuka

  Preparation: 10 minutes Cooking: 20 minutes Servings: 3   Some words are just cool to say, and shakshuka is one of those words. It is a lovely vibrant dish of eggs poached in a skillet of simmering spicy tomato sauce that originated in the Middle East and North Africa. There are many different ways to make this dish—you can add different vegetables, meats, and spices. This shakshuka is great for breakfast but also works well for a late night supper or brunch. This is my simple version that our family loves.   Brain Food Note Tomatoes are rich in antioxidants that help prevent brain cell damage and stabilise mood. The levels of zinc and B vitamins in eggs improve cognitive function and psychological well-being.   2 tablespoons coconut oil 1 small red onion, chopped finely 1 red bell pepper, cut into thin strips 2 cloves garlic, chopped finely 6 1/2 cups diced tomatoes 2 tablespoons tomato paste 1 teaspoon cumin 1 teaspoon sweet paprika 1 teaspoon chilli flakes freshly ground black pepper sea salt 5–6 organic eggs 1 handful basil leaves Preheat oven to 180 degreesC. Heat coconut oil in a deep skillet or ovenproof pan on medium heat. Add onion and bell pepper to the pan and cook until soft and fragrant, about 5–7 minutes. Add chopped garlic and cook for an additional 1–2 minutes. Add tomatoes, tomato paste, and spices and simmer over low heat for 7–8 minutes, until the mixture starts to reduce and thicken. Add salt and pepper to taste. Make 4–6 wells in the tomato mixture and crack an egg into each one, spacing evenly. Place the skillet in the oven and cook for an additional minutes, or until the eggs are just set. Remove the pan from the oven, sprinkle with basil leaves or parsley and cilantro, and serve with bacon or a lovely seeded bread to mop up that delicious sauce.      

Fig and Ginger Granola

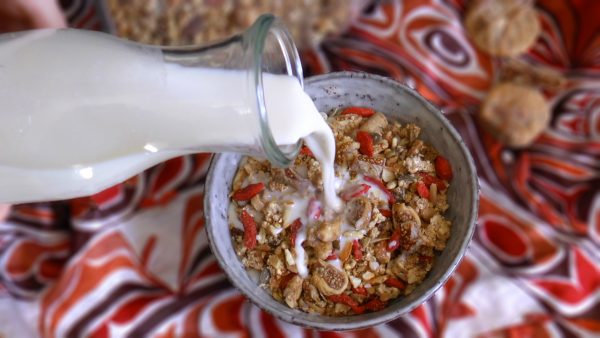
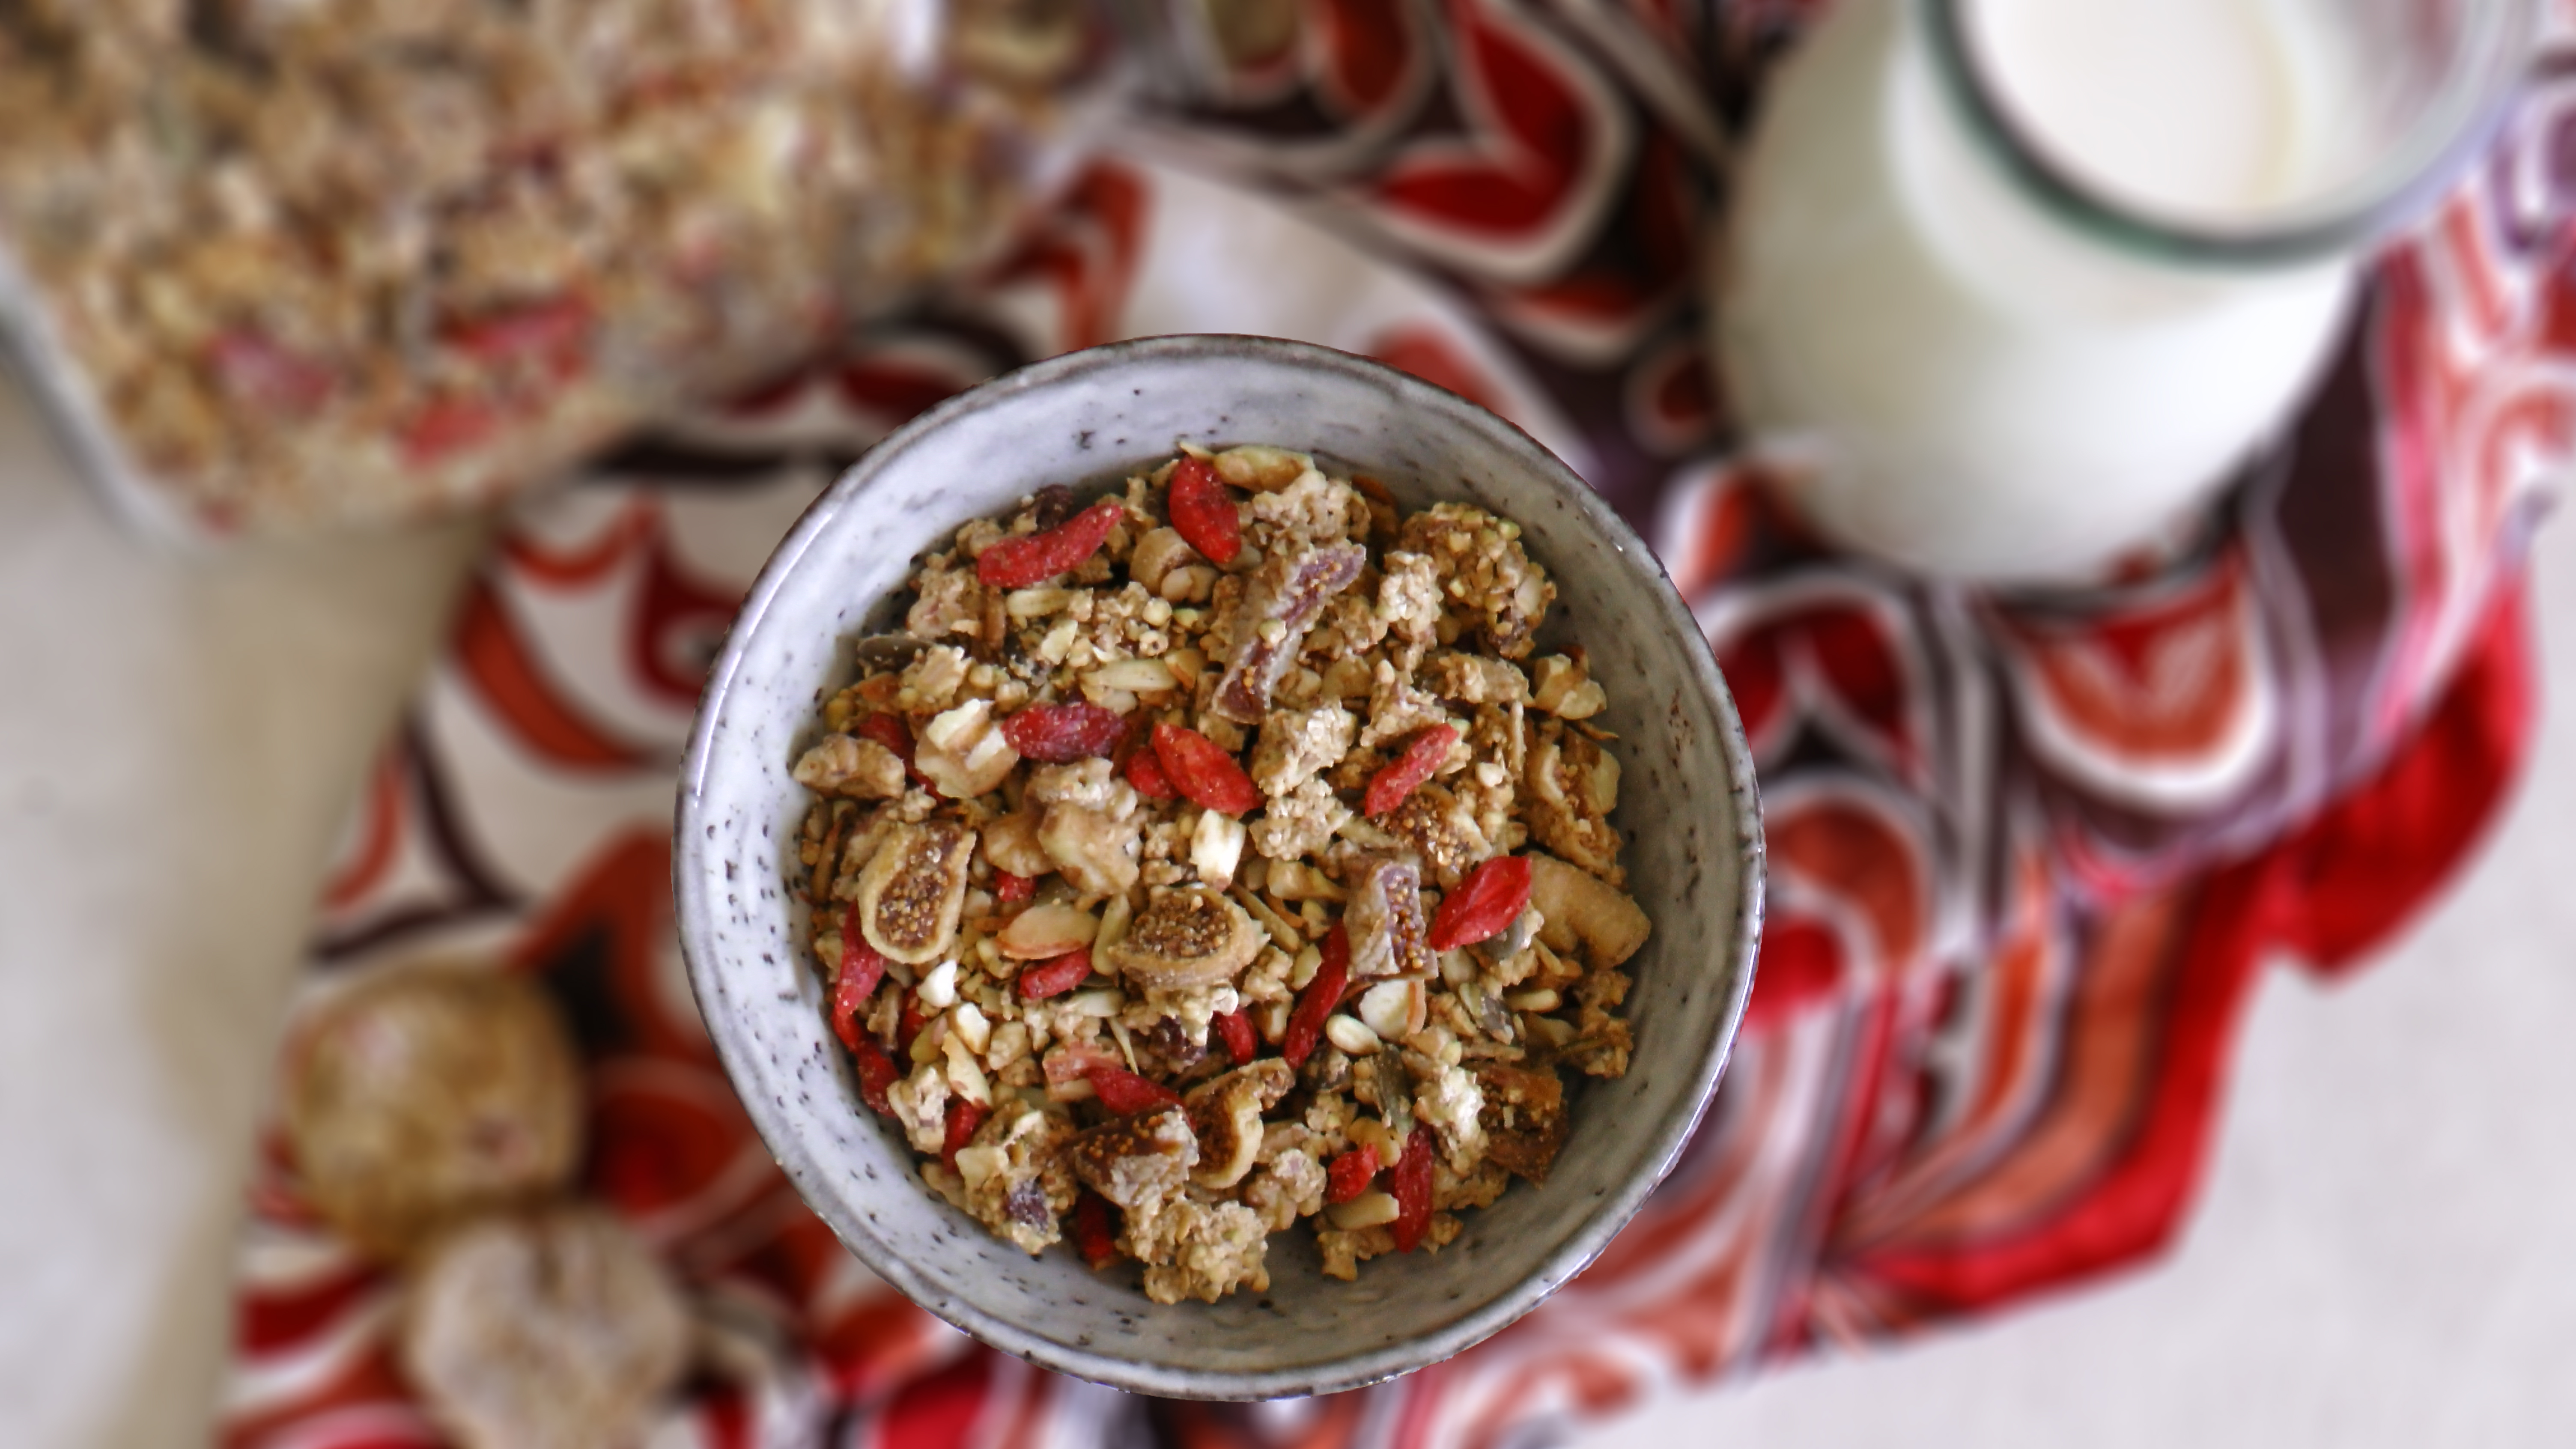
I love the warming, spicy flavour of ginger. Fig and ginger together? Yum, a classic flavour combination. This is a lovely crispy, crunchy granola based around nuts and seeds with the addition of goji berries, figs, a kick of ginger and a hint of maple. This fig and ginger granola is also great straight out of the jar by the handful as a quick snack, or sprinkled on some yoghurt. It’s more of the ‘adults’ granola. My kids think it's ok, but it's not their favourite flavour. Bonus for me as it means it lasts longer than my cacao granola! :)  
You Will Need:
1 ½ cups of buckwheat groats ½ cup of coconut chips ½ cup of chopped walnuts ½ cup of sliced almonds ½ cup of pumpkin seeds ½ cup of spouted sunflower seeds 2 tablespoons of maple syrup 2 tablespoons of coconut oil 6-8 dried figs (chopped) ½ cup of raisins ¼ cup of goji berries 3 teaspoons of ground ginger 1 teaspoon of nutmeg Granola-1
What To Do:
  1. Preheat your oven to 175 degrees Celsius.
  2. 
In a large bowl, combine all dry ingredients except the goji berries, raisins, and figs.
  3. In a small saucepan over a low heat, melt the coconut oil and the maple syrup together.
  4. Pour the liquid ingredients over the dry ones, and fold/stir to coat.
  5. Spread the mixture out in an even layer on a large baking tray.
  6. Bake for 8-10 minutes until toasted and fragrant. Check and stir every few minutes as the granola can burn easily.
  7. Remove from the oven, and leave to cool.
  8. Add the goji berries, raisins, figs, and ginger. Toss to combine.
  9. Store in a large jar.
  10. Makes 6 cups.
 

Carrot and Turmeric Soup

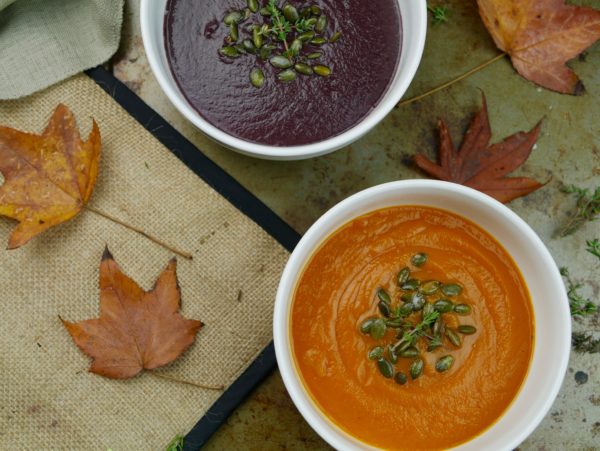
  Preparation: 15 minutes Cooking: 4 hours Serves: 4-5   This bright, vibrant soup is a bit of sunshine in a bowl. The delicate, sweetness of the carrots hardly need much to make their flavour sing. This is a simple soup of either purple or orange carrots cooked over a long slow heat with warm spices of ginger, cinnamon and turmeric and then blended to create a smooth silky soup. A swirl of coconut cream and a sprinklng of toasted pumpkin seeds would work beautifully here to maximise the brain health benefits.   Brain Food Note Carrots containe carotenoids; plant pigments that give carrots their colour. Cartenoids have been linked to better mood, clearer mind and uplifted thoughts. Turmeric is known for its anti-inflammation properties and its main active ingredient curcumin helps balance brain chemicals. The healing gelatin in bone broth nourishs your gut and relaxes your mind. The curcumin is readily absorbed when partnered with black pepper and healthy fats like coconut cream.  Top with some pumpkin seeds for a feel good hit of magnesium.   12 large orange or purple carrots, sliced 1 inch thick 1 small onion, chopped finely thumb sized piece turmeric root, chopped finely 2 garlic cloves, chopped finely thumb sized piece ginger, chopped finely 1 teaspoon of turmeric powder ½ teaspoon of cinnamon 4 cups chicken or vegetable bone broth ½ teaspoon of sea salt ½ teaspoon of freshly ground black pepper   To Top 2 teaspoons thyme leaves, chopped 2 tablespoons pumpkin seeds, roasted swirl of coconut cream (optional) sea salt freshly ground black pepper   Melt the coconut oil in a large saucepan over a medium heat. Add the onion, garlic and ginger and cook for 2 minutes or until soft and fragrant. Add turmeric root, cinnamon and turmeric powder. Cook for a further 2 minutes stirring occasionally. Transfer to your slow cooker and add carrots, bone broth and thyme. Cook on high for 3 ½ hours or until carrots are very tender. Ladle mixture into a high speed blender and blitz for 45 secs until smooth. Ladle soup into warmed bowls and garnish with thyme and toasted pumpkin seeds. Serve with fingers of toasted homemade bread.

Kombucha (‘booch’)

It’s taken a while for me to write a post on kombucha as I wanted to get my batches “right” before I posted. I first started making kombucha about six months ago. I purchased a “scoby” online as I didn’t know anyone who made kombucha that I could get a baby scoby from. My first batch was spot on, sweet but tart at the same time and fizzy. Since then I’ve experimented with different teas and sugar and double and triple batches. The method and quantities below are what have worked for me for the nicest brew. The thing with kombucha though, is you can make it to your individual taste, so you might like it sweeter, fizzier or lighter in colour. The best shop brought kombucha I’ve tasted costs $18 a litre! It’s definitely worth making it, for the constant supply and the reduced $$$. It seems scary to make at first, but trust me it looks harder than it is. If you can afford some tea and sugar you can make this delicious, sparkling, probiotic drink, that I think tastes like a cross between ginger beer and apple cider.  
So what is kombucha and how do you pronounce it?
Kombucha is pronounced “kom-boo-cha” and is an antioxidant rich, probiotic drink named interestingly the “Immortal Health Elixir”. It won't make you immortal, but kombucha is excellent for your digestive health and immune system. This delicious fermented sweetened tea has also been known to improve mood, energy, and the health of your joints, skin, hair, and nails. Most of the sugar in kombucha ferments out, so it has minimal effect on blood sugar.  
Kombucha Health Benefits
Like all fermented foods kombucha is rich in enzymes and beneficial bacteria, and contains high levels of antioxidants, b-vitamins, probiotics and glucaric acid. Kombucha hasn’t been known to heal anything specific, but it has been around and consumed for over 2000 years. Studies have reported a variety of health benefits including:
  1. Improved immune system
  2. Antioxidant rich
  3. Increased energy
  4. Improved digestive function
  5. Relieves constipation
  6. Improved circulation
  7. Balances pH levels
  8. Relieves arthritis pain
  9. Reduces blood pressure
  10. Improves eyesight
  11. Anti-inflammatory
  12. Helps liver detoxification
  13. Improves mood (aids in anxiety/depression)
  14. Helps nutrient assimilation
  15. Fights yeast problems
  16. Relieves stress
  17. Improves skin and hair quality
  18. Improves digestive function
  19. Balances hormone levels
  20. Decreases allergy symptoms
Personally, I've noticed improvements in me and my family’s mood, energy, skin, hair, joint health, and digestion. kombucha[c]2
What Does Kombucha Taste Like?
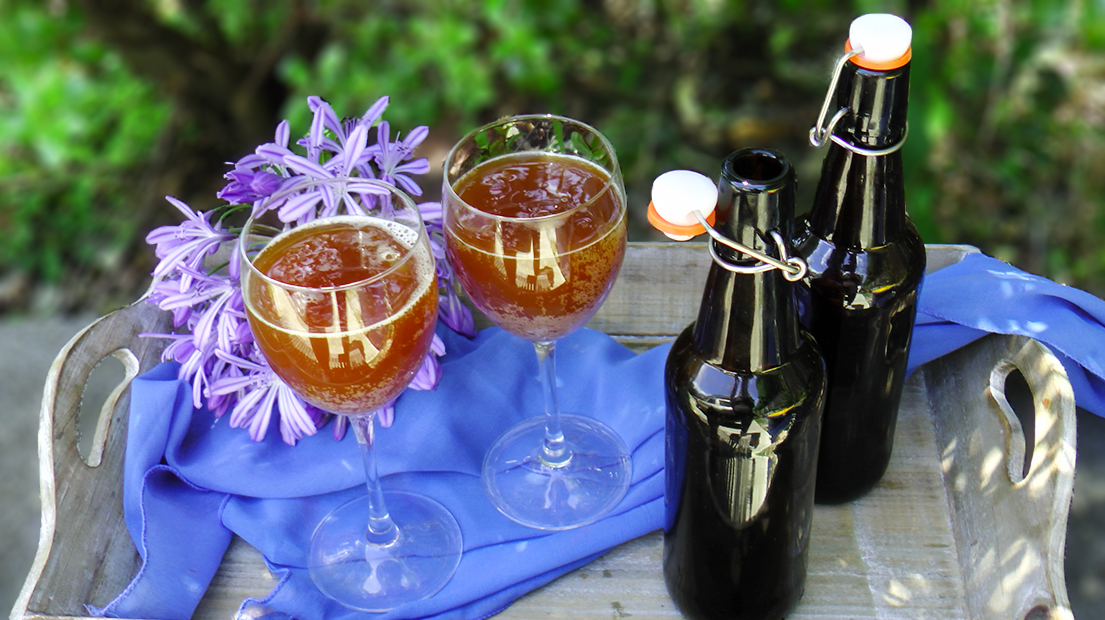
Kombucha is slightly tangy and slightly sweet. Like I said before, I think it tastes slightly like ginger beer and a touch of apple cider. Yum! The taste depends on how long it ferments and the fermenting conditions. Longer fermenting periods result in a more vinegary, more carbonated drink. Shorter times will result in a sweeter drink. After the first fermentation, you can bottle and ferment longer for a fizzier drink or you can flavor the kombucha with a number of flavourings like fruit juice, lemon or ginger.
Is Kombucha Safe For Kids?
Kombucha does contain sugar and alcohol in small amounts. Most of the sugar ferments out and if you are concerned about sugar you can ferment longer, over 7 days. The fermentation process produces a small trace amount of alcohol, less than 0.1%.
How Do I Get a SCOBY?
SCOBYs (Symbiotic Colony of Bacteria and Yeast)
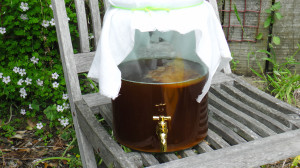
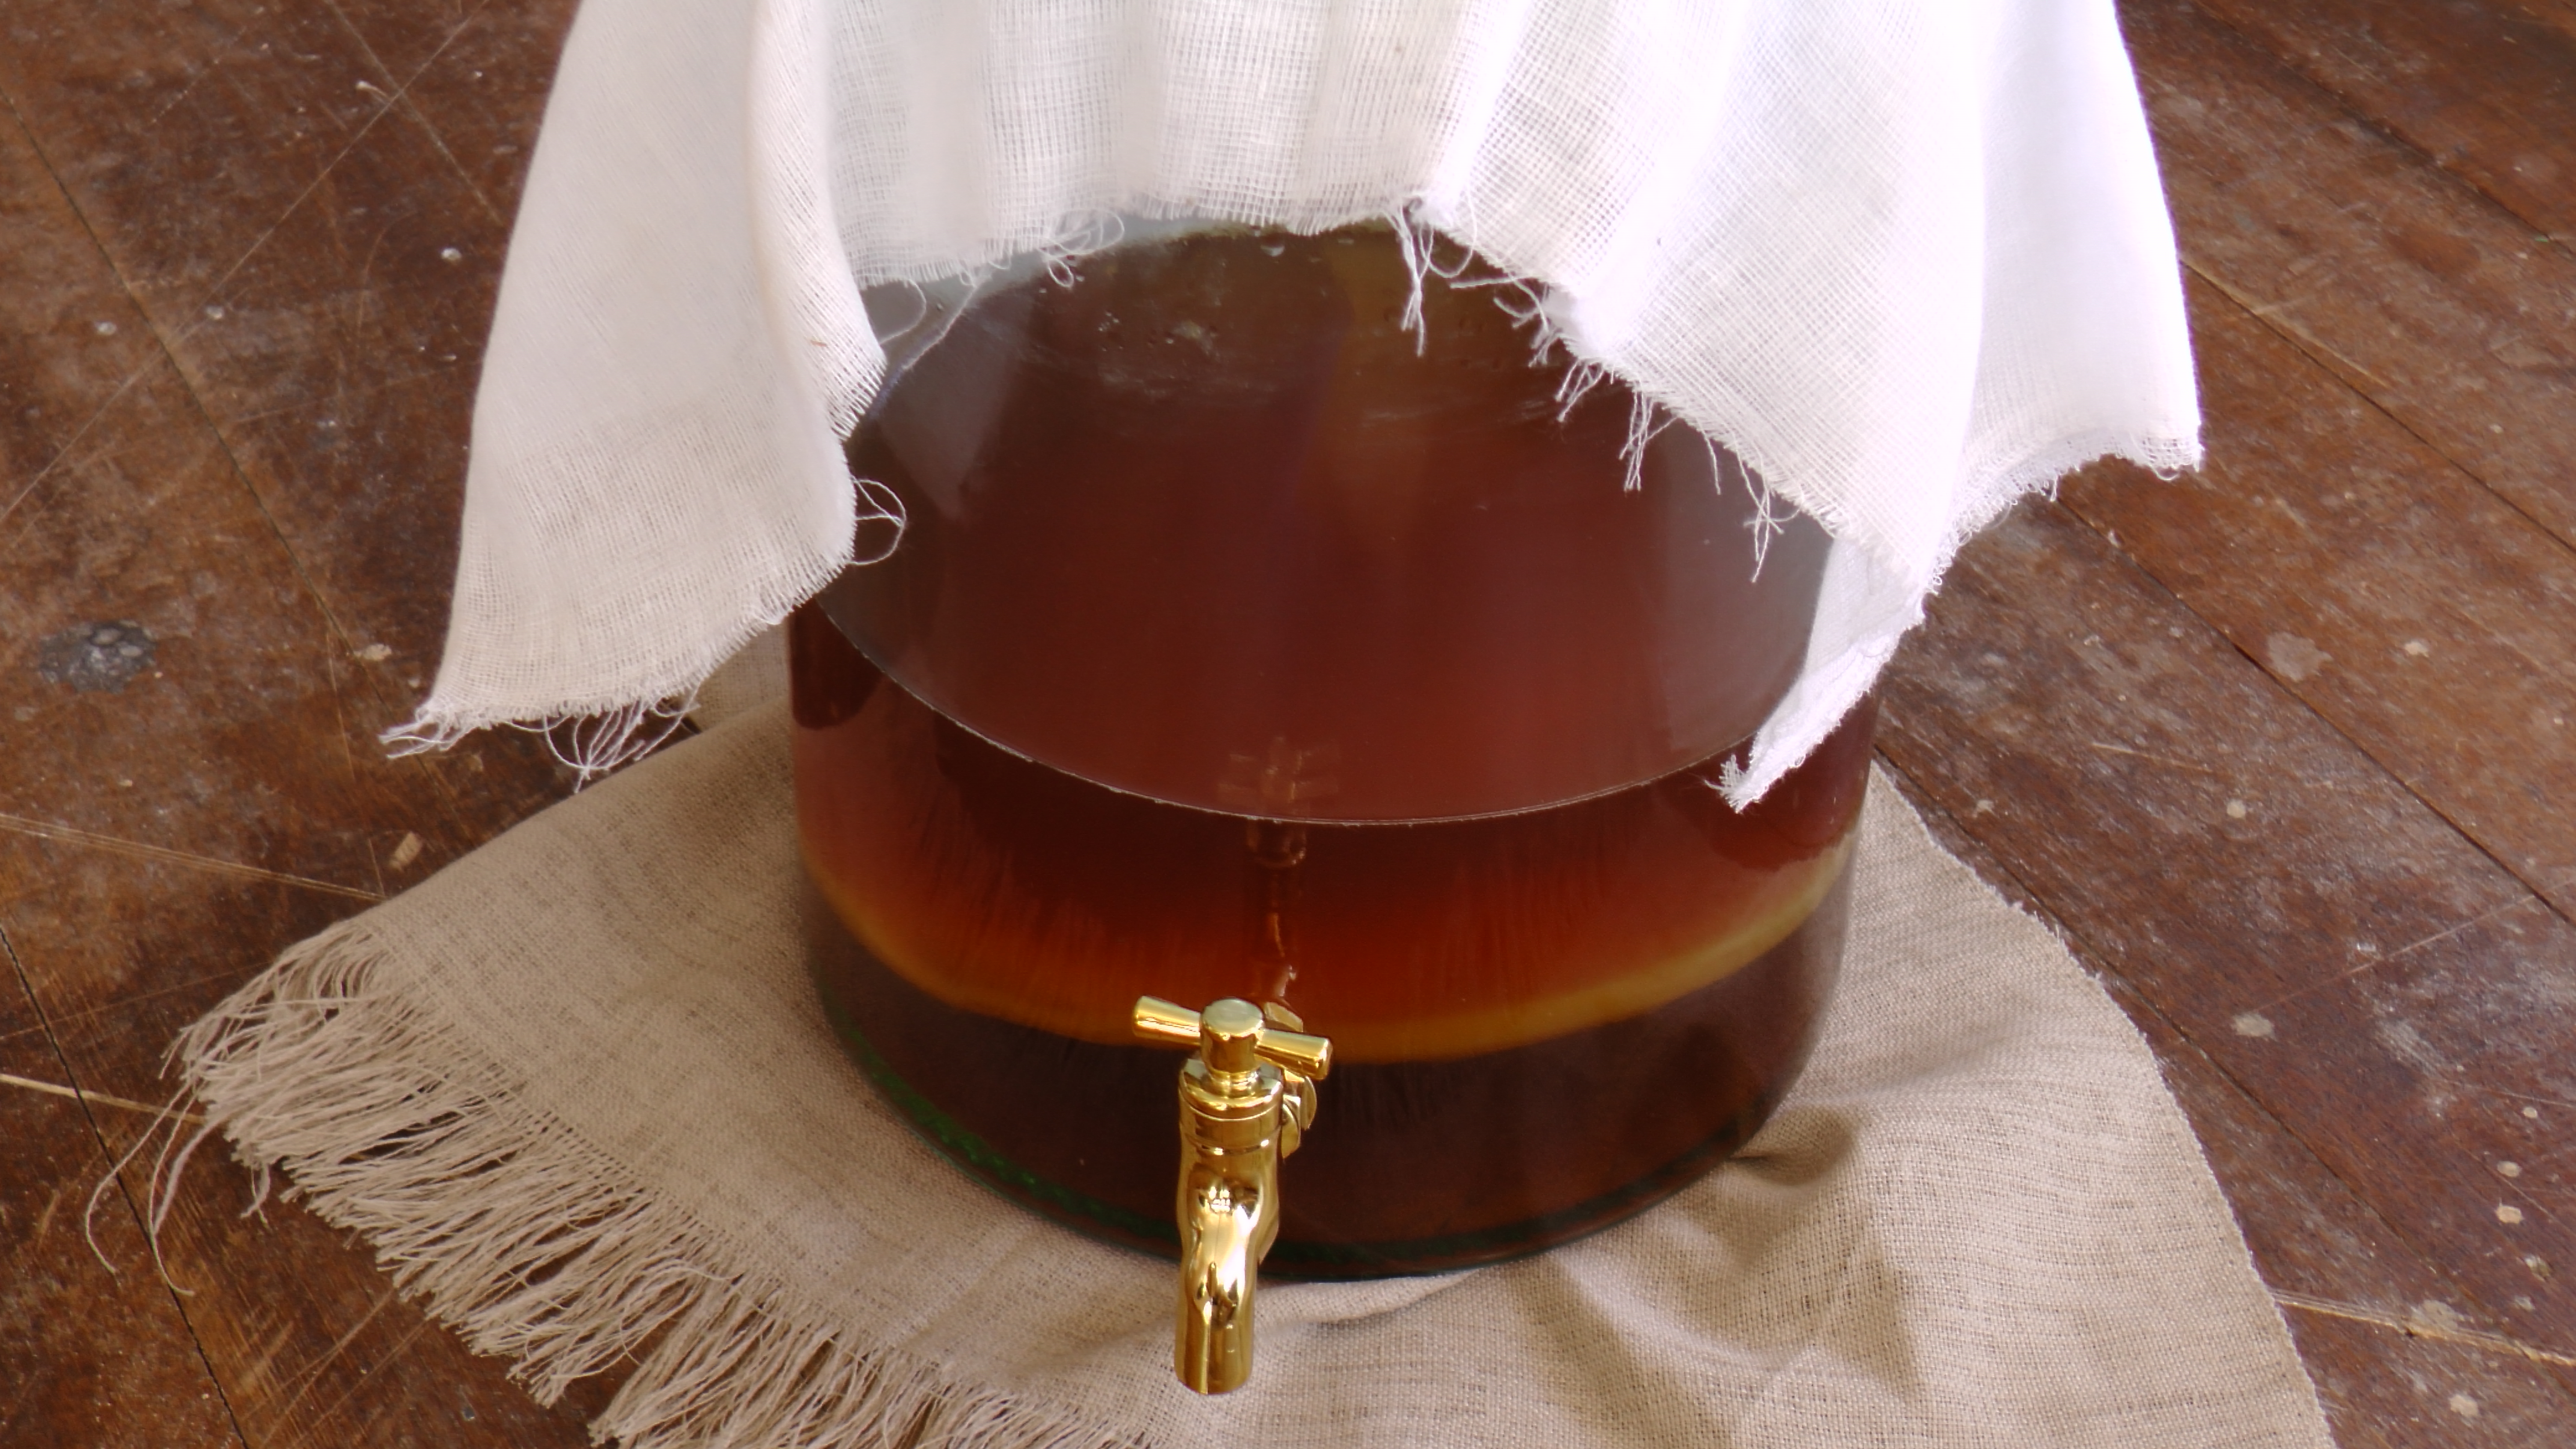
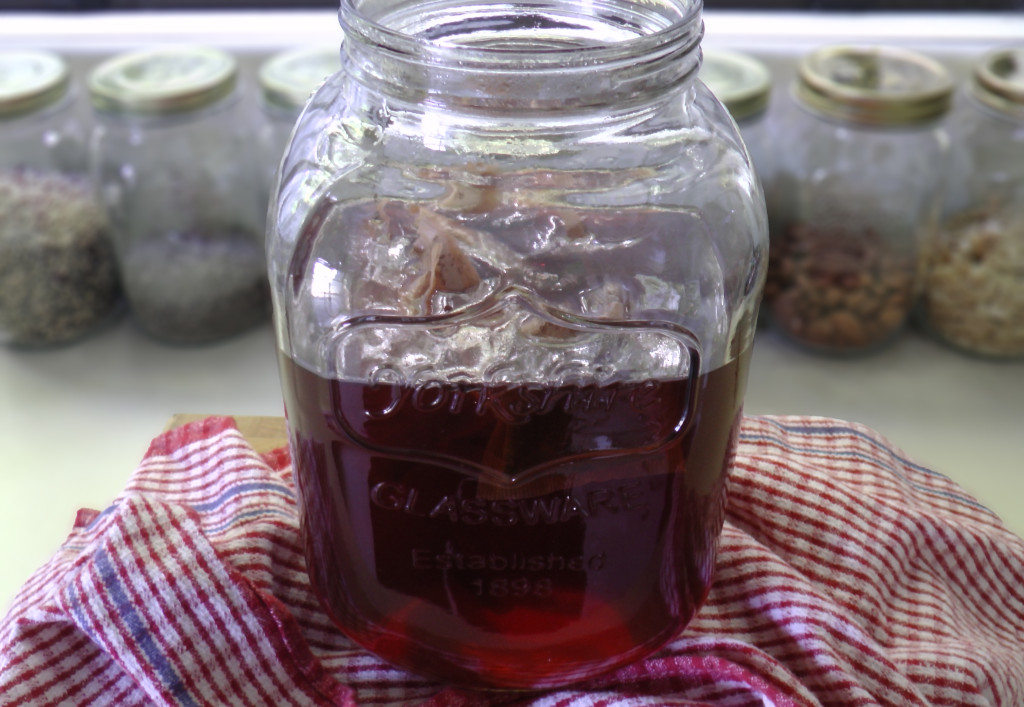
are living and thriving colonies of bacteria and yeast working to convert your tea and sugar into kombucha. Scobys are weird looking things and it’s scary to touch them at first, but pretty soon you will be used to handling it. If you can purchase a vessel with a plastic tap like mine, this enables you to handle your scoby as little as possible, keeping it healthy by lowering the risk of contamination. My scoby initially arrived as a perfect little pancake the size of a small mason jar and came in a little pouch of kombucha. With my first batch it soon grew to the size of my kombucha glass vessel with a tap. After the first few batches it started looking a lot weirder. Bits hanging off it, and new baby scobys growing (The first picture shows the small scoby and the next the larger one after a few batches). The scoby has sunk in the second picture, as I had just cleaned out the vessel and removed the “older scoby”. It will float to the top again, though it doesn’t matter if it doesn’t, it’s all good.
There are several ways to obtain a Scoby:
  1. The most common way is from a friend who already brews kombucha. Ask them for an extra scoby and I’m sure they will be happy to give you one. The scoby feeds, grows and makes a new layer each brew. This “baby” scoby can then be used to brew another batch of kombucha for someone else.
  2. Or, you can purchase your scoby online and it comes to you either dehydrated or in a pouch filled with sugar tea. Choose a reputable source.
  3. I’ve heard you can grow your own scoby. I haven’t tried this, but I know others who have, and who have had success with this method. It can be done using a pre-made bottle of raw kombucha that you can get from a health food store. You take a bottle of kombucha and allow it to ferment further which will result in a new baby kombucha scoby. You can find good tutorials online.
 
How to Brew Kombucha
Make sure your hands and utensils are clean. It is important not to introduce competing bacteria to your brew. Make sure you thoroughly clean and rinse the container and all utensils that will come in contact with the scoby. Only use hot water, not soaps or chemicals. Kombucha-tea-2
You Will Need
  • 1 Scoby
  • 1 cup starter liquid (use a bottle of store brought raw unflavoured kombucha if you don’t have access to anyone’s homemade kombucha)
  • 4 tea bags or 2 tablespoons of loose tea (I find tea bags easier). I used normal black tea initially, but for a lighter tea I found that oolong and green tea work really well. Herbal teas contain oils that mess with the scoby so don’t use these.
  • 1/2 cup of sugar (I use raw organic cane sugar. I have tried coconut and other sugars but I’ve had the best success with raw organic sugar. Scobys actually find raw and white sugar the easiest to digest). Don’t use honey as its anti-bacterial properties won’t work with the scoby.
  • 7 cups of filtered water
Your Utensils
  • 1 large glass jar or jar with a plastic spigot (don’t get a metal spigot, you don’t want metal in contact with your brew).
  • 1 piece of muslin or other breathable cloth (I used a cheesecloth).
  • A rubber band or string to hold the cloth in place.
  • If you are using loose leaf tea, you'll need a stainless steel strainer.
  • Airtight bottles (I couldn’t find any clear airtight bottles so I choose dark bottles, you might have better luck where you are).
M2180004Kombucha-Vessel
What To Do
  • The night before, clean your glass kombucha vessel well. Place tea and sugar into your mason jar or kombucha vessel. Add hot water and stir until the sugar dissolves. Use hot water not boiling as I’ve had my glass jar crack from the water being too hot. :(. The water should be hot enough to steep the tea. Leave on your counter to cool to room temperature.
  • Next morning, when the sugar tea is cool, remove the teabags or tea. If you are using loose tea, pass it through a stainless steel strainer or cheese cloth, making sure no leaves get in your brew.
  • Add the scoby and the starter liquid from your kombucha pouch, bottle of unflavoured store brought kombucha, or previous brew vessel.
  • Cover the jar with your muslin or cheese cloth and a rubber band or string to allow the mixture to breathe. Do not use an airtight lid.
  • Leave to ferment. Choose a warm spot, out of direct sunlight, away from rubbish bins, with good airflow, where your kombucha will be undisturbed.
  • Now, the waiting part. I know it’s exciting, but leave your brew for at least 4 days. At day 5, it's kombucha. Now, have a taste. If it’s too sweet, then leave it longer. I find 6 days is a good amount of time before the second fermentation. In warmer climates kombucha will brew faster, in colder temperatures slower. A bit of experimentation and you will have it to your liking.
  • When your kombucha is ready, pour it into sealable bottles. This is where the container with a spigot is handy, but you can use a mason jar and pour off the amount you want to bottle. Leave a small amount in the bottom to start your next batch.
  • You can leave it too ferment for a second time in the bottles for 2-3 days. This results in a very fizzy kombucha. You can also flavour it now if you wish before the second ferment. Only add flavour to the bottles, not to your scoby, as this will contaminate it.
  • After the second ferment put your kombucha bottles in the fridge as this ceases the fermentation process.
  • Pour yourself a nice cool glass of “booch”. :)
  • Make up some more sugar tea and continue brewing. You can double or triple your batches to suit your family’s needs. If you don’t have a large vessel with a spigot you can make up several batches in glass jars once your scoby has babies.
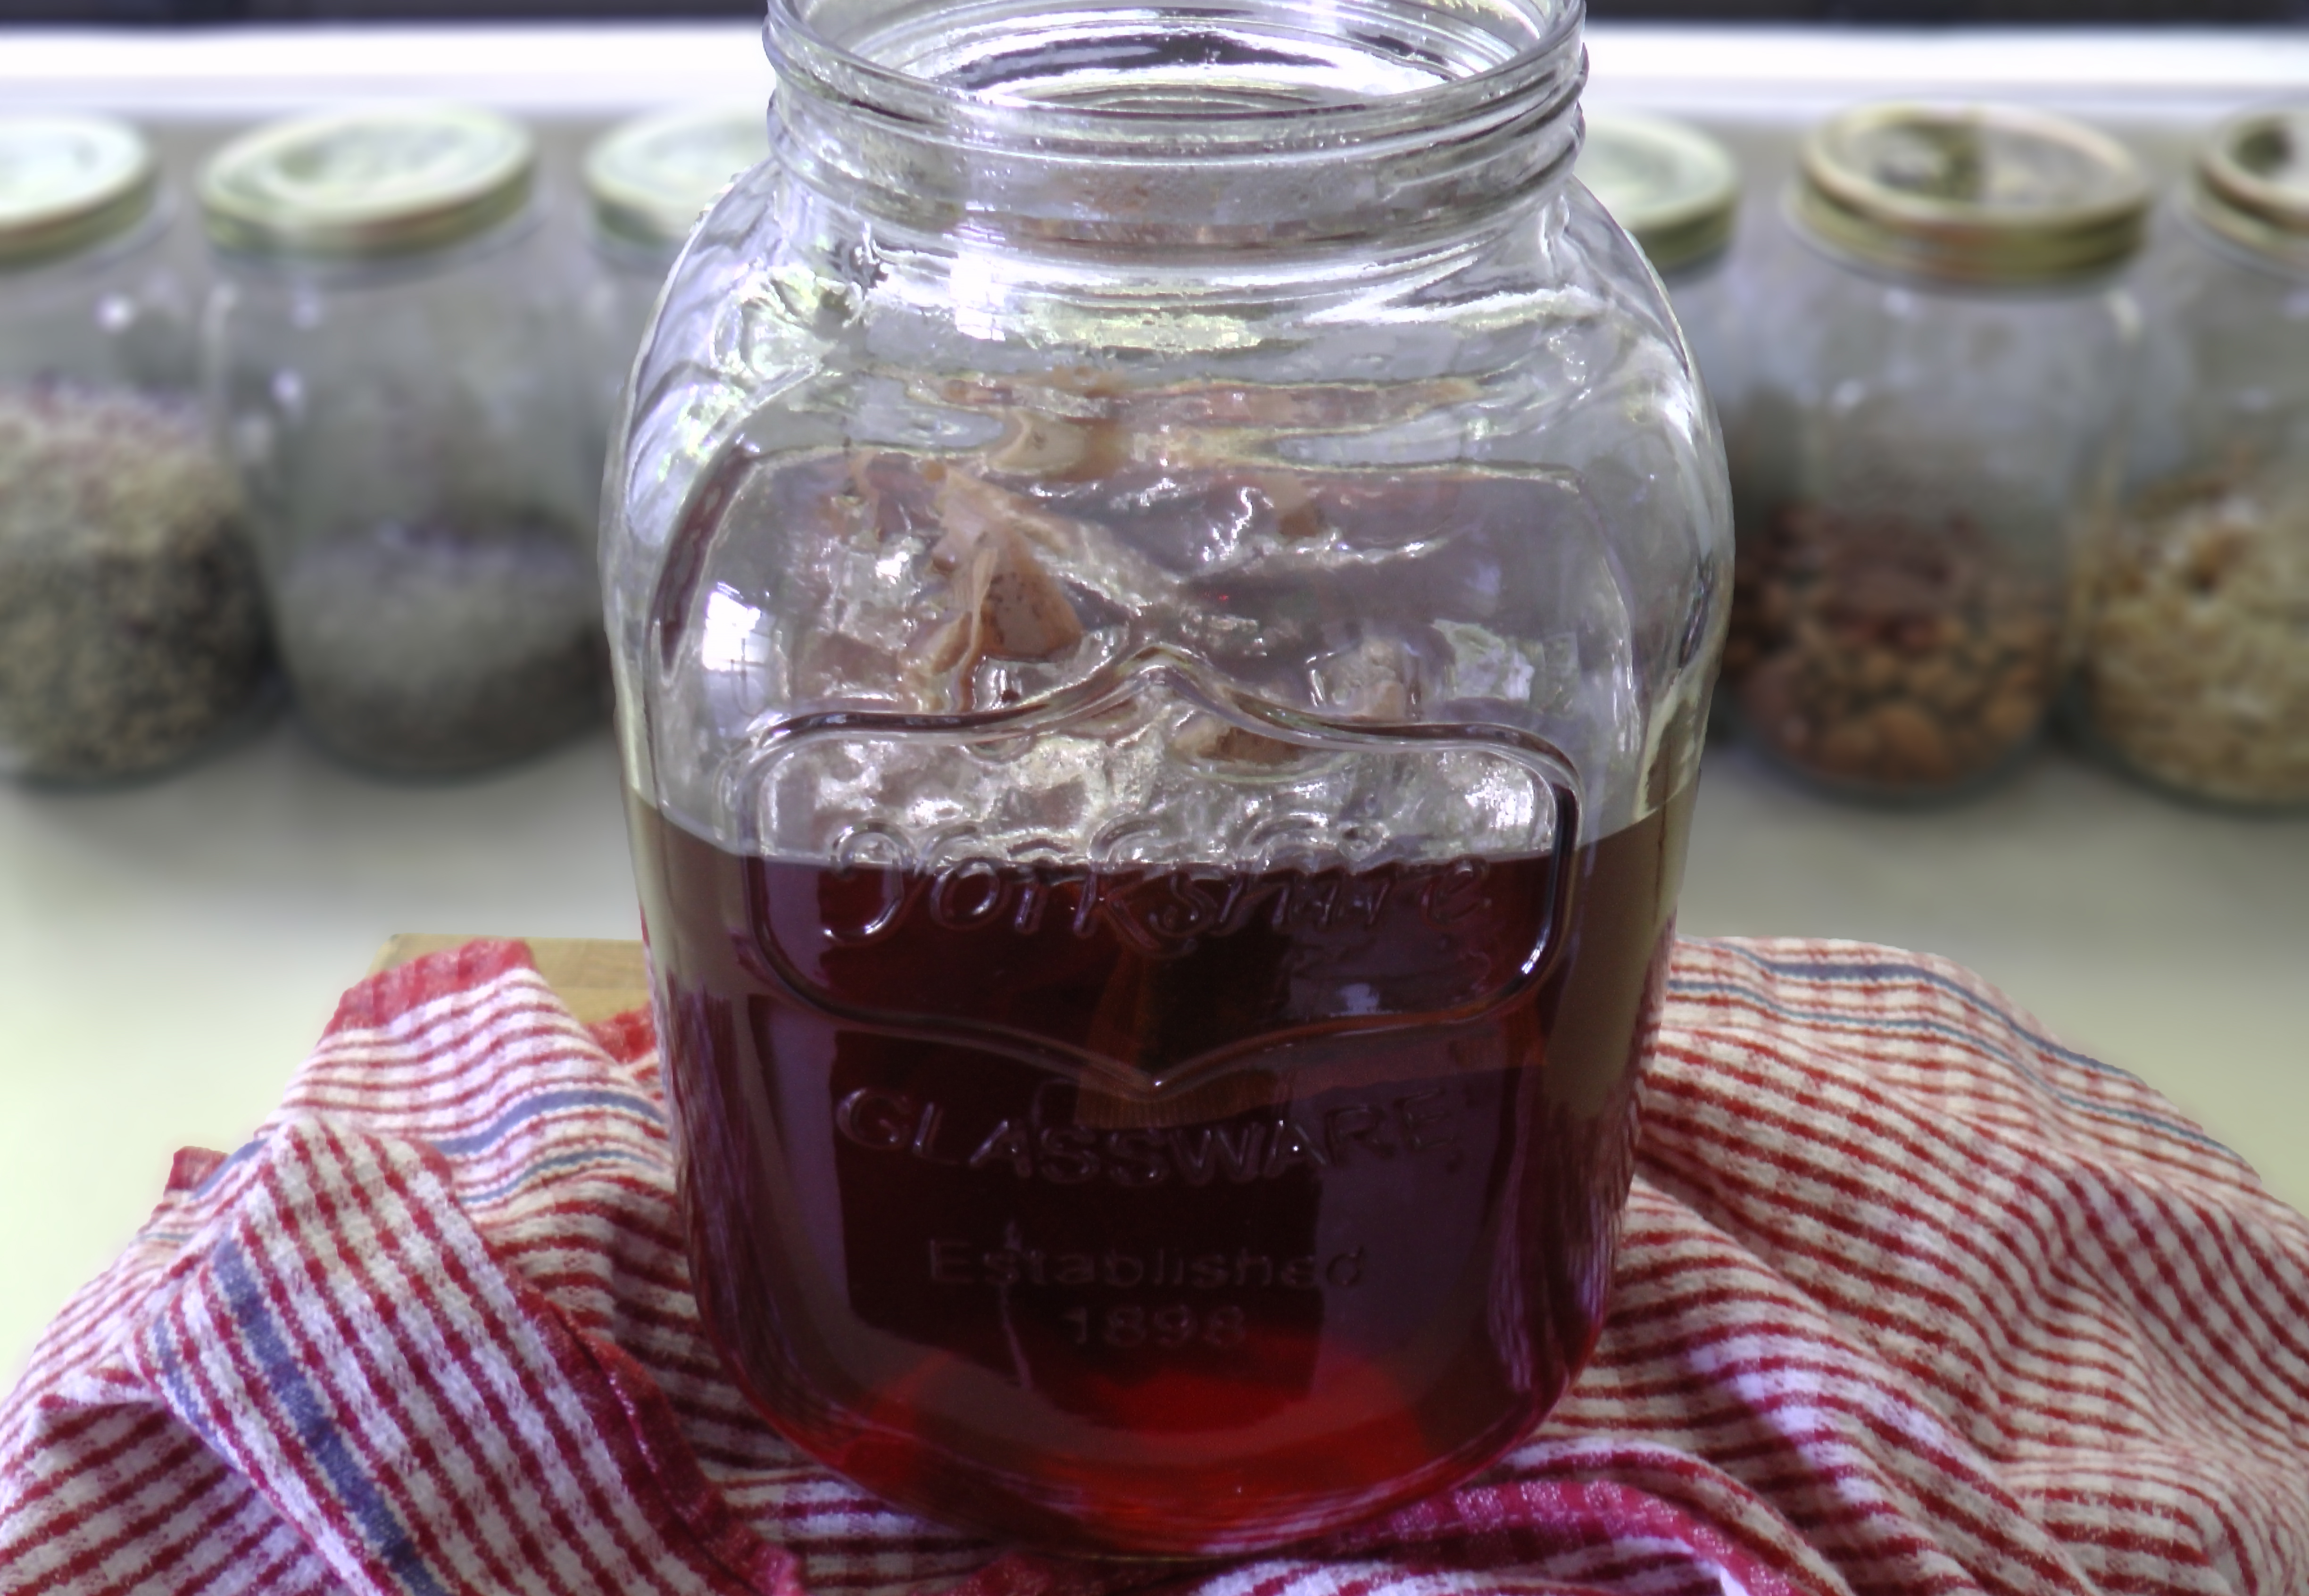
The first picture below is the brew I made using black tea and the second picture I used oolong tea. The brew in the first picture had a second ferment which resulted in a fizzier drink. Have fun experimenting! :)  Kombucha-Glasskombucha[c]3